Saturday, August 28, 2010

Get back in the saddle

When you fall you need to get right back up on the horse, when at first you don't succeed, try and try again....and I'm sure there are many others. Whichever is the best phrase, I'm there, time to address this problem....again!
Well I'm a little behind schedule. Now I know what your thinking," schedule?....when the heck did he get a schedule?"
Well OK technically your correct, however this is a mini schedule...which I have blown. After the cradle lift catastrophe last weekend, my job this week was to get:
1. New Motor mounts-check
2.Gasket for the new sump(Oil pan for the non Brits)-check
3.Get material and manufacture new engine lift-uhhhh, not so check


The good news is that I have a great start on it, the bad news is that it isn't done and as a result the mechanic is not coming over today because there is very little we can do without the lift.
More bad news is that between his schedule and mine the next time we can get together is 3 weeks from now....CRAP....this is the foothills, there could be snow by then!

Bottom rails are 2x2x.125"

I'm sure the welding isn't pretty enough for the pros but I was actually quite happy with it. I got some good beads, it's solid AND it's square! (will the wonders never cease)
More of the same on the block for today...until my physio appointment....my neck is buggered.

Tuesday, August 24, 2010

OOOOO, Ahhhhhhh, OOOhhhh

Today the furniture came!

Knighthill automotive from Vancouver called and said they had shipped out our RV furniture. Not to be deceived by the company name, 5 days later, sameday shipping company called to say they have our stuff. Ever so gracious Rob lent me his truck....once again...

Anna was very excited to see the new stuff.

I think she approves.(drivers Seat)

And so do I.

Sunday, August 22, 2010

Two steps forward...one step back

Saturday marked another day where my loving wife and partner in crime showed me amazing patience and allowed me to play with my new friends. Albeit unlike my other friends I am paying this one. So today we wanted to mount the engine in the cradle and time permitting do a dry fit in the bus.

It all started so well, John stripping down the engine while I constructed a dolly that would carry the cradle. Not only carry the cradle but also allow us to raise and lower the outfit to get it to loading height.

I finally finished the dolly, and it seemed to be great. The point of load were centered directly over the scissor jacks which then transferred the load along the long axis of the wheel plate.

With a little head scratching and armchair math, we managed to figure out where the engine mount plates had to be drilled to accept the rubber core engine mounts

Behold it works! The engine fit nicely in the cradle, from all measurements it looks like the cradle should slide right in to the bus. But the hour was late, and we had a dinner party to get to(hence the patience of Michelle), so we decide to call it a day.BUT......
As we were cleaning up, the engine/tranny/cradle was in the middle of the garage- so I decided to move it off to the side. I was quite happy with the fact that with only moderate effort I was able to wheel the whole....1200LBS combo around quite easily. I first pushed it back and then moved to the side and put a lateral force on the contraption.......

Crap!

Saturday, August 21, 2010

Finally back to the task at hand!

So there has been quite a delay in postings, but last week was a family week, this past week was "getting back into the swing of things" week. But I did manage to get a few hours a few evenings to do some window work.

After some clean up of the frames(Randy's handiwork) I have been putting the pieces back together. Window panes into rubber channel, channel and glass into frame,schlegal into frame, and then all sealed with the manufactured seals!

The final step of the process was placing the exterior seal.

Not bad, they look quite attractive If I do say so myself.

The cradle and block are ready for the visit from the Mechanic. The goal will be mounting the engine in the cradle and then see if we have time for a dry fit in the bus!

Thursday, August 12, 2010

Clean up

So it's been awhile since I had a post. But then it's been a while since I have worked on the bus. I did a couple of hours a couple of days ago, but I promised myself that although I was on holidays....that didn't mean that I could spend all the time on the bus....my family might divorce me!
So it's been slow on the bus front but great on the family activity front!

Today the bad news was that it rained for a good chunk of the day, the good news is that I had a chance to "bus it"

You have seen this picture from the last post I think, but it kind of gives you a good 'before' idea of the cradle

Given the poor weather forecast, I darted out early before the troupes got out of bed, and went and sandblasted the engine cradle.

Then after a little monkeying around I gave it a real good slathering of....?...Yup POR-15.

Monday, August 9, 2010

"Out, out damn Spot!"

OK it may be a little rich to be quoting Shakespeare in a blog about your bus but, come on I'm a Dentist not a poet.

OK that might be the smallest video link I think I have ever seen....sorry about that!
This is where we started to "pull the engine". In a normal vehicle I've always thought it should be lift the engine, as you lift the engine out of the front....but with the bus, it was definitely a "pull".
You can hear Randy screw nailing the braces onto the roof trusses, I promised I wouldn't use the extreme close up of his face that Jeff took, so this sound bite is the only recorded evidence of his attendance.

So, where did we leave off....ahh yes no fork lift. Well some of the old barn timbers that I have been saving for a special project, came in handy. No this isn't their final purpose in life, they too will be re-used for another more noble project. But stacked and braced they did what we needed. Support the cradle until we could clear the bus chassis.

After we had blocked up the engine... time to slide her back...

It wasn't the fastest process in the land but slow and steady wins the race.It's amazing once everything was removed, how spacious it seems in the engine bay.

The GMC engine has served the old girl well....for how long? who knows. But it did get us from Montana to Bragg and a number of little trips since then. Why then swap to a new engine?..Torque, durability, efficiency...etc etc.

The empty engine bay seems big the extracted engine (yes, yes a dental term...so what?..) now out of the beast, seems small!

Saturday, August 7, 2010

Out with the old, In with the new(er)

wow what a great day. Considering the forecast was for rain...it turned out to be a sunny warm slight breeze kinda day. A perfect day to start a power plant swap out!
John showed up at 9:30 right on schedule, and we went right to work

Pulling some of the floor out had some advantages!

Simply disconnecting the linkages was a little more time consuming than I had anticipated but we picked away at it and had a laugh or two along the way

While John and I were picking apart the insides, Randy was here to lend a hand crawling around on the top side playing closer for some of the frame work of the shelter.

At this point she's all stripped down and disconnected ready to slide her out.......uh huh, just slide her out!!....riiiiight!

John at this point usually has access to other industrial shop "tools" like fork lifts and such. So we had to make due.....some old posts from a Manitoba barn look like they could work!

Friday, August 6, 2010

Exciting!!


So I had Been wrestling with the question of who should help me with the engine swap. I had two options. John the mobile mechanic, great guy, will come to the house and we'll do all the work right here. A great opportunity for me to learn if I want. The second option is the local garage, another good option, more of a drop it off and come back it's done kinda thing. But good after the fact help if need be too. Well after a chat with the local garage, I got the feeling that they can definitely do it....in Sept....or late Sept...or maybe October. But they also said that if I went another way they still would be there for me if there was trouble down the road. Both are great options...but th opportunity to learn is greater with John....and he does air brakes too!
So, John is coming in the morning to pull the old engine and tranny out!! Should be fun!!
I'll take lots of photos!

Tuesday, July 27, 2010

Put her to bed.

So today is my last day of work on the bus for a while. I'm off to meet the family in Manitoba. Unfortunately it will be a short visit, but life throws us curve balls sometimes and you just have to roll with it.

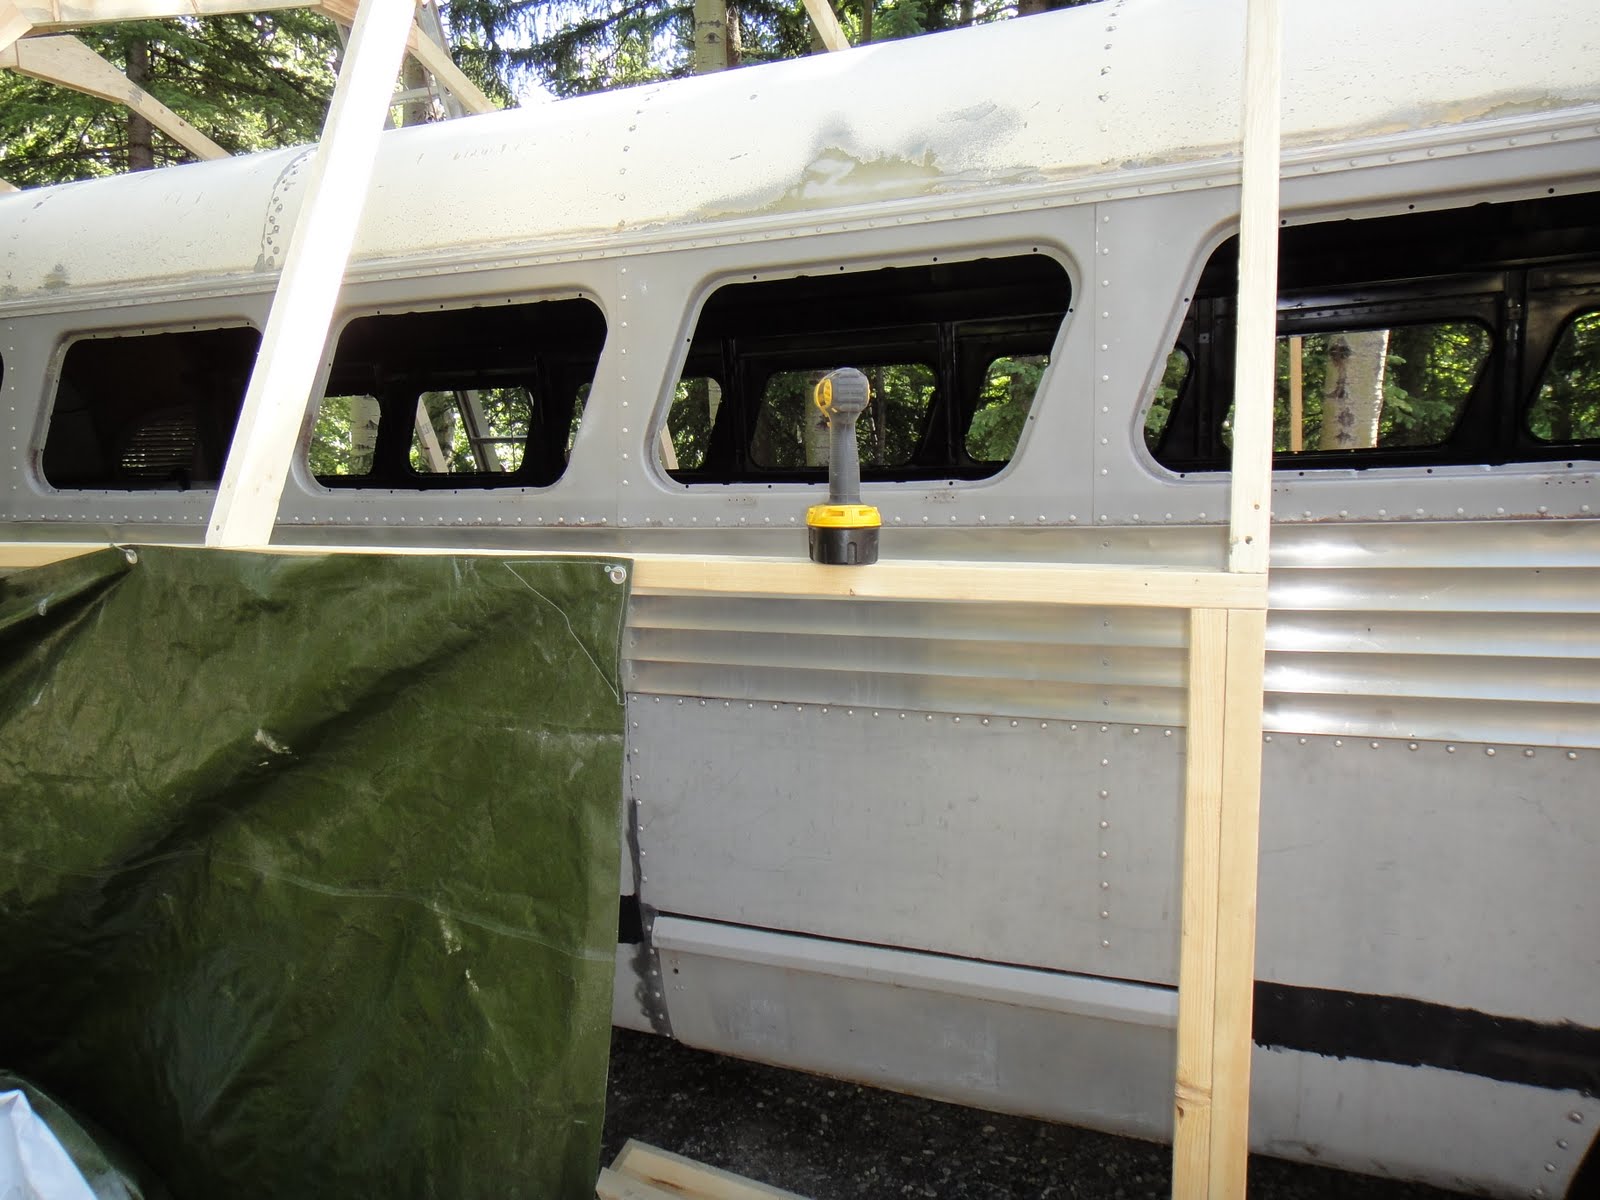
Randy came over today and once again helped me out. I decided that in the summer the tarp cover was more than adequate. However we are not in Kansas...come winter time we get snow, and sometimes it is we and heavy. So I decided to place OSB sheeting on the roof. So Randy pulled off the tarp and we set to work.

Although we didn't finish entirely it is a great start, I need to finish to the front and then extend to the first joint as well.


This should hold until I get back.

Monday, July 26, 2010

Covered...kinda.

Yesterday was a great day.I was wacked by the end of it. I started the morning, like any rational man on his own would, by going into town and having a big breakfast at West22. A little restaurant in Bragg. It used be called Dave's...and frankly it wasn't that good. New owners and new menu, it's a nice place to go in the morning! Anyway, breaky, and then come home and take the dogs for a hike. I figured that after the run they had yesterday I would go easy on them....or that was the plan. 2 hours of bushwhacking later we arrived home.

Poor little Nacho was done, running through the woods at double time must have been too much for him. I figured he must be beat if he was using a 2"x4" for a pillow!

Yesterday Randy and I made great progress on the shelter, and as he left he said he's be back Tuesday so don't try to get the roof up by yourself......."ya sure!"(insert Norwegian accent) I said.
My plan for the day didn't originally include putting up the roof trusses, because you needed more than one person.Never to be deterred by a challenge, I had a thought! To put up a truss, you need one guy to lift the truss into place and stabilize it with a brace on top while the other guy holds the bottom steady. Once the top is stabilized then the bottom can be screw nailed down. Or.....you can have tack down jigs to hold the lower portion while the single guy lifts and stabilizes then comes down and screw nails the bottom into place. Worked like a damn really! (told you I was a firm believer in jigs)...who needs a stair master when your up and down a ladder all day!! You may or may not notice that the wall heights are all 18" shorter too!

Now....I like to read, most often I believe in what I read. Unless it is from a tabloid, which I read in the supermarket only to pass the time. So you can forgive me if when I read on the web site and then on the package that the tarp is 20'x40'....I specifically remember
20'x40'...not 20'x37'5 1/2". Perhaps I should have measured the tarp to verify the length of it before designing the building plans...but there are allot of things in life you would do differently if you had a second chance. Like the time I accidentally ran over Michelle with the snow machine....the day after I asked her to marry me.
So after a few colorful words, which I am thankful that the dogs are unable to repeat, another after the fact fix. If you scroll up one photo you'll see that the picture was taken after this mishap was discovered. You now notice the distance between the front two trusses(and vertical posts) is smaller than the rest. I felt like a plastic surgeon, a little nip here a little tuck there!

The day was nearing the end and I was getting tired, but I did take a moment to enjoy the sunset

With rain forecasted for Monday I really wanted to get the tarp on...and I did. There is still more work to do but at least she is covered

Sunday, July 25, 2010

I am bushed......

This is just a quick teaser, I am so spent that I don't think I'm going to wait for all the pics to download, I'm going to bed. This is as far as Randy and I made it yesterday before the heat of the day got the best of us and we called her quits. We did get a great start, the picture angle makes it difficult to see but, if you click on the photo and look at the enlargement, you can see we got the rear 2 or three roof trusses up.

But after Randy left....I started mulling things around. I didn't like how high the shelter was. Lets face it, as a no foundation building this thing could act like a kite in the wind so the lower profile the better. I climbed on the roof and took some measurements. I figure I can cut the walls down by 18" and still have lots of clearance. Some of the roof trusses were already installed but a little thinking outside the box took care of that!
Stay tuned!

Oh No! Not again!!

You may remember this time last year I found a  wee problem I had been checking things out and found a significant break in my flywheel hous...