Wednesday, April 28, 2021

30 Years....whoa!

            Time flies when your having fun, one minute your graduating university and getting married, the next your back at the spot where you said "I do" thirty years later to recreate your wedding photos!
With the help of the expert Poppy Morrish of  Wild Poppy Photography we had a fantastic day skiing and laughing and enjoying a surreal moment in time 30 years later


Michelle sit fit her dress.....my tux was a little less forgiving, but fortunately the love is stronger than ever. Here's hoping that in another 30 years at 82 we can do it again for the 60th anniversary!

Spring has sprung in the rockies......which means one day your looking for a tee time, the next day your looking for a snow shovel! It also means all the university students are finishing exams for the year so that means I get to spend more time with my kids!<3

The ladder mounting continues. When I had the ladder made I was pretty loosey-goosey with how it was going to be mounted and had them fabricate the ladder using the body of another clipper as a working template. The fact that things are as good as they are is a testament to their attention to detail.
So I needed to become creative in a mounting option that also allows the quick and relatively frequent unmounting with ease 


So I fabricated two mounting platforms that will bolt onto the back. The ladder will then bolt down to the platforms with knurled finger bolts 


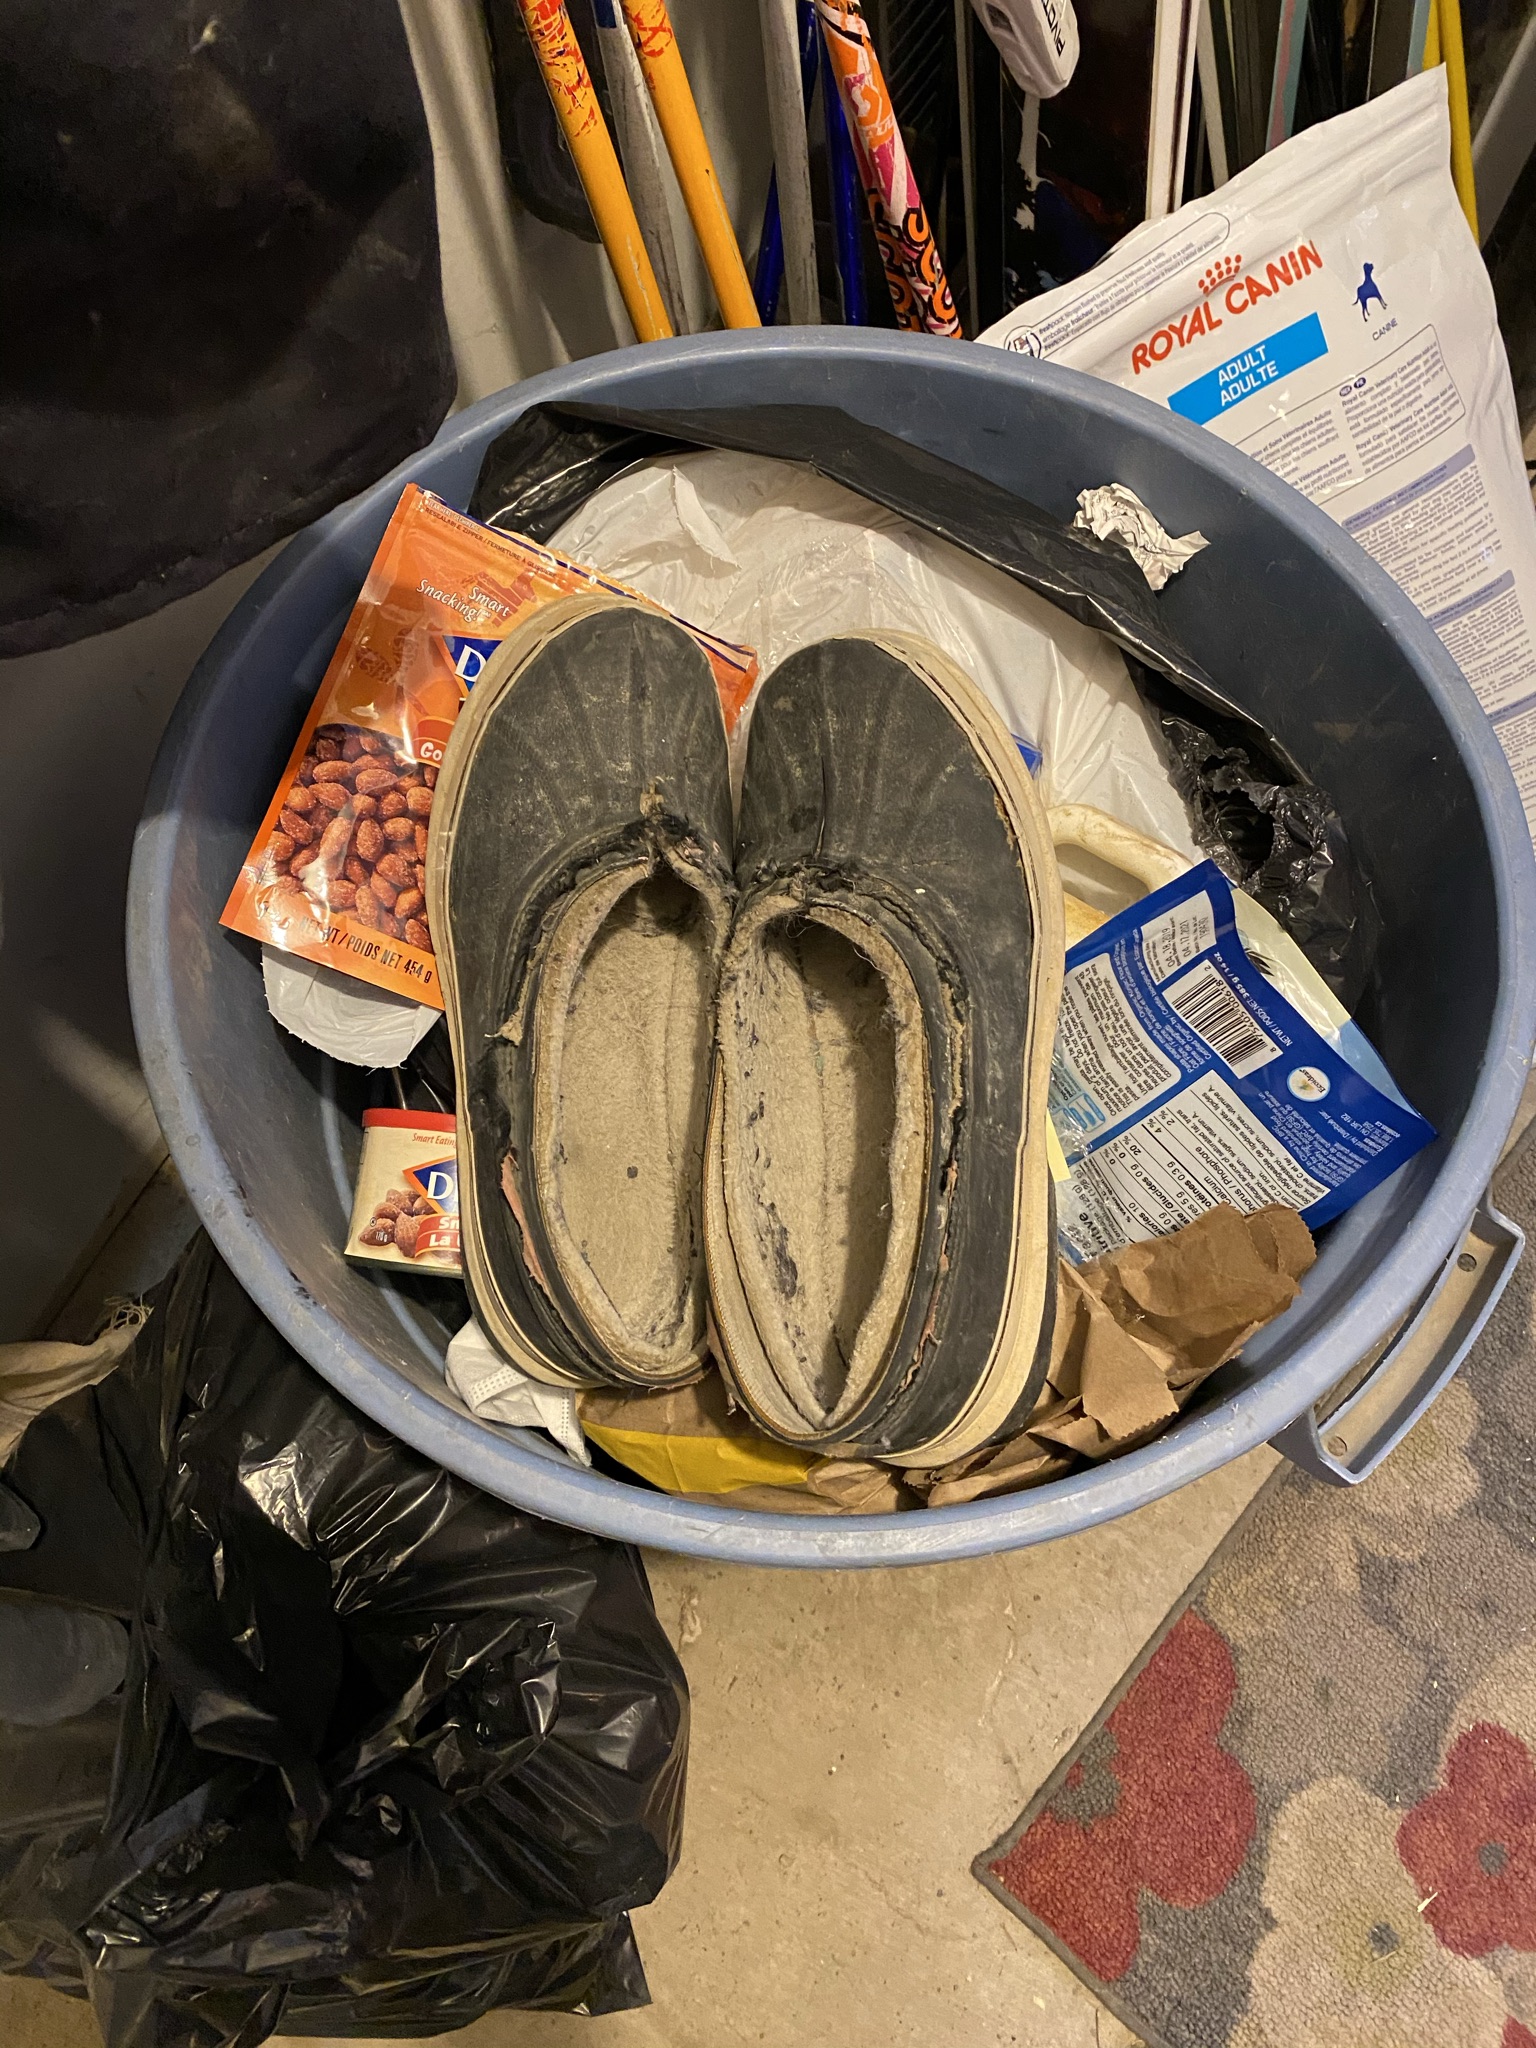
Being Married for 30 years is one achievement, but having a set or Sorel winter boots for 30 years is some sort of record. The boot tops long since ripped/melted/wore out, so I cut the top off and used them as, what Cecil Smith used to refer to as, pee rubbers.......its a Thompson/setting lake thing.....if you have to ask you don't want to know. But after time....it was time. In Michelle's opinion it was time 10 years ago but....I'm stubborn. NONE THE LESS! I bought new shop shoes....and they are even steel toed!

Tuesday, April 27, 2021

A step up

Back in 2016...ish, I was convinced that my work shop could be shared. By 2017 I had gotten the boot. Half of my shop had been taken over for a family gym area, and the sharing of the space wasn't working for either area me or the exercise area. So between that and a desire not to lay on the ground outside when working on Fillmore, I created a storage/work space for my shop and Fillmore. So you can probably appreciate then my trepidation when I come home from work and find someone
 "sharing" my work space. I will admit it is for woodworking/painting project which does fall into the 'dog house' mission statement.

Although admittedly I was a little disappointed she was drinking neither hot coffee or cold beer. 

None the less, my work continues on the ladder installation. I have mapped out where it will be situated.


Next was creating mounting gaskets/pads

A wee challenge as the mounting foot is flat and the surface is curved. I ended up making a multi layer wedged footing and shaping it with good ol' sandpaper.


The easiest way to access the underside was through the top. The ladder is mounted to the skin....the body panel, but it is unsupported. As soon as you put significant weight on the ladder the skin will deflect (and bend) if not supported from underneath.
Getting my upper body in there was a wee bit comical. Although I just about slid down onto the engine at one point, this was actually a stable balance position...

In the end I got a really compact and super stable support.

Which I then celebrated with a hot cuppa joe and CBC classical music!

Next will be doing a double support for the bottom of the top section and the top of the lower hinged section.....stay tuned.


Monday, April 12, 2021

The house that is never finished...

 I used to shake my head in wonder how someone could build a house and then for years seem to stall out finishing it by leaving small jobs undone! But here I am! And now I'm "that guy". The more we use the bus there less I feel there is an urgent need to get done.....or better put the less I'm willing to keep Fillmore out of commission due to a job started but not finished.

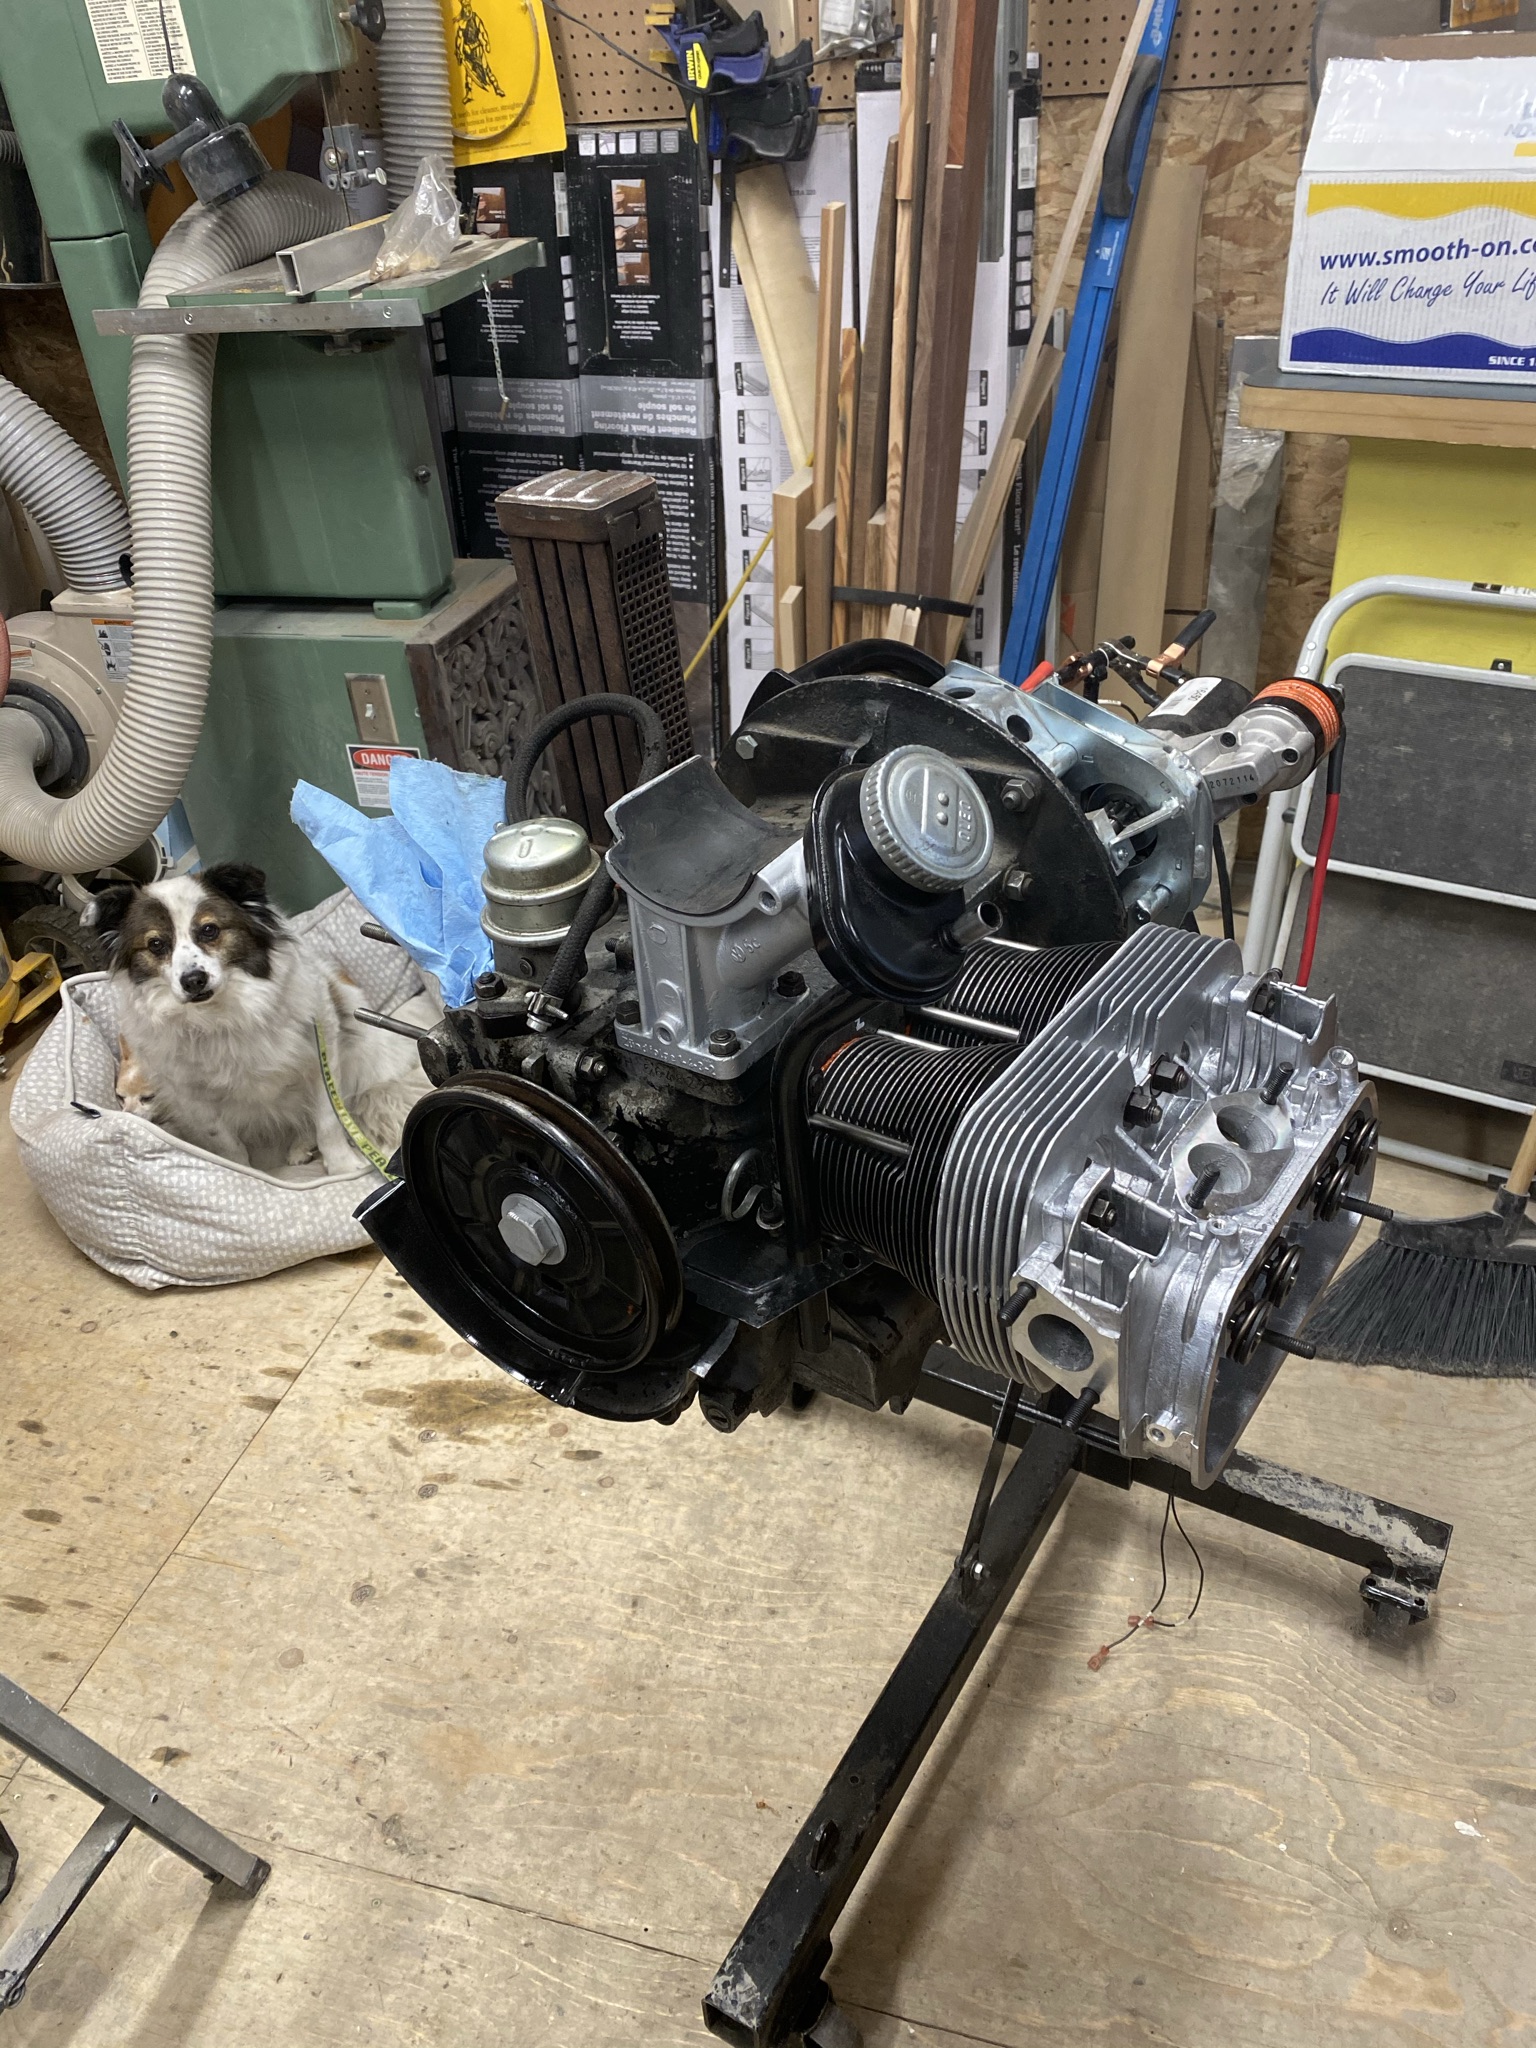
Not wanting to sound like I'm making excuses but I also have spent a great deal of time this past few months rebuilding the upper end of the 1970 VW bug engine which will be our tow vehicle

It was basically a big game of leggo, take pieces apart, put them back together again....albeit with a lot of new pieces that weren't cracked or warped.

And in the end have a functional little gem!

It was a little challenge to get it from the work shop to my garage where the beetle is on the lift, but I managed with a little standing in the sun and thinking about it.

Meanwhile as I was cleaning up the workshop making space for whatever comes next.....I thought...."its time, time to see what this will look like. So I built a platform to help me reach up and position the ladder for the back end of Fillmore.


I have some wiggle room as to where I can mount things, but it has become evident that it cant just hang on the skin. I will have to develop an internal support mechanism to transfer the load onto the frame.


After a lot of humming and haw-ing.....I think I have a plan. Not concrete yet but lets say a soft road map of action.


Thursday, November 5, 2020

The Devil's in the details

So As I get ready to install the 'back shelf' as I have grown to call it. I realized I was about to install the shelf overtop of a very important piece of the puzzle. Specifically the element control for the cook top. After install in the counter I had the control tucked in behind until a time that I figured out where to best mount the control panel. Out of sight is out of mind.......good thing I remembered
I have to make sure I don't pull a bone head move and mount the control over top or behind where the elements are. Nothing more frustrating than having to turn down the heat for a boiling pot of water and having to reach through the stream from the offending pot to do so!
This is actually a great opportunity to get two birds with one stone. You'll notice a small square in the back shelf. That is the air supply or intake for the cooktop. I was brainstorming how I can leave that open but yet stylishly cover the opening. In walks in the brushed aluminum bracket that I have been hording for just the right moment.

Some measurements and tracings, then re measure and re trace...finally after the appropriate amount of humming and hawing.....I committed. 
Set in place it has the desired effect I was looking for. A stylish mounting bracket for the cooktop that visually covers the air intake. I still need to create a small mounting block inside the back shelf. Then we can deliver to the bus interior.


Monday, November 2, 2020

Just like that....."BAM".....it's winter!

We were sitting on the deck on a thursday exclaiming how wonderful of a fall it had been. The leaves had a chance to turn and hang on for weeks. The vistas were beautiful. The next day by 2pm it was full on blizzard.....and just like that....its winter.

But what can you do but embrace mother nature. I'm a winter guy(although I would love more daylight for it) so we bundled up and listened to the squeek of the snow beneath our boots.
After last spring, when we had record amount of snow, I decided that I needed to up grade some of our snowshoes, courtesy of my in-laws. Now I could scrap these old fellers like our throw away society seems to promote, but instead I decided to create oldschool snowshoes 2.0
I found a company out of Quebec that manufactures modern snowshoe bindings for old school snowshoes. They seem to work like a dam.....I'll see what the field test shows when we get enough snow on the ground.
Meanwhile, as I wait for a new Voltage regulator I decided to heat up the inside of the bus and work on some kitchen trim. I still have aluminum stock that I purchased
The hardest part of this whole process is the little curve at the end. It took some playing but eventually I got what I liked
Test fit proved positive.
Now to build a storage shelf/container thingy that matches the drives side
Starting with the paining process, sanding and primer layer are done, now a coat of three of the cabinet paint
While I await the paint to dry, I spent my time polishing the trim piece. This is an exercise in patience. The process is multi step and slow, you really cant rush this....if you do it usually comes back to bite you in the back side.
After I spent a good half hour going through the different grades of buffing compound, my end result was pretty slick....the guy in the reflection not so much, but the mirror polish ...pretty slick!
 I was so proud of myself, I decide to reward myself with a special treat!


Tuesday, October 13, 2020

In all my years......I have never....

19 years. That's how long I have lived in Bragg Creek. In all my years I have seen a few black bears, a grizzly, lots of moose, a literal herd of deer, elk, coyotes, marten, squirrels, owls, hawks, even an eagle or two. But never had I ever seen a cougar. I had heard of them in the area, I had talked to friends and neighbors who caught glimpses of them running across the road. But never had I ever been able to sit less than 50 feet away (in a car)from two of them feeding on a fresh kill.
At 10:30 last thursday night by friend and neighbor texted me and said " what are you doing?" When I said watching TV he simply said...."get over here". I am convinced that he would have said get over here if I said I was doing anything aside from active CPR on someone, alas I digress.... When I got to his place we hopped in his car and drove 200 meters down the road and , what you see above is what we saw that night. Truly a once in a life time opportunity.
Not quite as exciting to the general populous as seeing one of  North Americas fiercest hunters but just as exciting for me....my new starter came in. But before I wanted to put the starter in place I had a couple of other things on my to do list
This is where the starter mounts on to the flywheel housing. If you look inside you'll see the ring gear where the starter engages and turns the engine over. This is significant right now because of the tachometer.
I know about now you are scratching your head and saying....."what???"
Allow me to go back in time. There are two ways to run your tach, off the alternator or a sensor that counts the teeth on your fly wheel...called a Halls effect sensor I think.  However....when you switch out an engine your calibration is all shot as your ring gear is different etc. So when I swapped out the engine back in 2011 from a gas to a  diesel I wasn't able to hook up the tach as it didn't have the ability to be switched from working with an 8 cyl gas engine to a 6 cyl diesel . A subsequent search found that I could not find a diesel tach that matched my instrument cluster. I remained optimistic and persistent....and maybe stubborn as well. I found an after market piece of tech that will take the signal from the sensor and convert it to work in the tach meant for a gas engine. The trick is you have to know how many teeth are on your ring gear to set up the conversion properly. Up until now I put it low on my list of things "to do", I wasn't going to pull the starter just to count the teeth, but now out of necessity....here we are. 
I was going to have to enlist the help of my lovely side kick. My partner in life, my buddy.....my sweetheart who really doesn't like to get herself dirty , greasy, or to generally "smell like bus"
So before I conscript her to crawl under the engine and count teeth on the ring gear I must make the environment as hospitable as possible. While I was removing the old starter I noticed that my flex pipe in the exhaust system was.....well.... toast. So I need to remove the exhaust and repair it. Seems like a good time.
Once it was out it was a quick fix and I still managed to have a piece of 4" flex pipe kicking around. Before I put it back in though, it was a good time to get Michelle. Without the exhaust there was more room for the task at hand.
I put down a clean carpet, got her some coveralls, a bright lite....I even had classical music playing on the radio!
At this point I had to remove the rear shroud for the engine bay so that I could access the flywheel in order to turn the engine and advance the ring gear so Michelle could count. As I mentioned in the previous post, this was the point where I realized I recognized the wiring harness that was responsible for my battery drain. The voltage regulator!!
Ring gear counted, starter put in place, exhaust fixed and now reinstalled. I'm just waiting for a new regulator and we should be good......
Except for the damn fuel shut off solenoid....


Oh No! Not again!!

You may remember this time last year I found a  wee problem I had been checking things out and found a significant break in my flywheel hous...