Sunday, October 17, 2010

Introducing........FILLMORE!

Yes ladies and gents, we have finally discovered who has been sitting in the driveway making interesting sounds and smells! We decided that we would discover the name for our bus as a family. The rule was if someone came up with a name we would all try it on and see. If it didn't resonate with everyone then that wasn't it. We went through a lot of names. SinBin2,Rosie,Bertha,Oso, Oso Grande, the onion, the list goes on and on. But when the kids in the neighborhood  started to refer to the bus as "The Hippie Bus", we all just kind of laughed and said "Fillmore"! Jeff went to work to make a name plate for his shelter.

Like some animals you can't really tell the sex of the individual until later in life....well we always thought Fillmore was a girl....but really he's just a peace,love and understanding kind of guy!

  
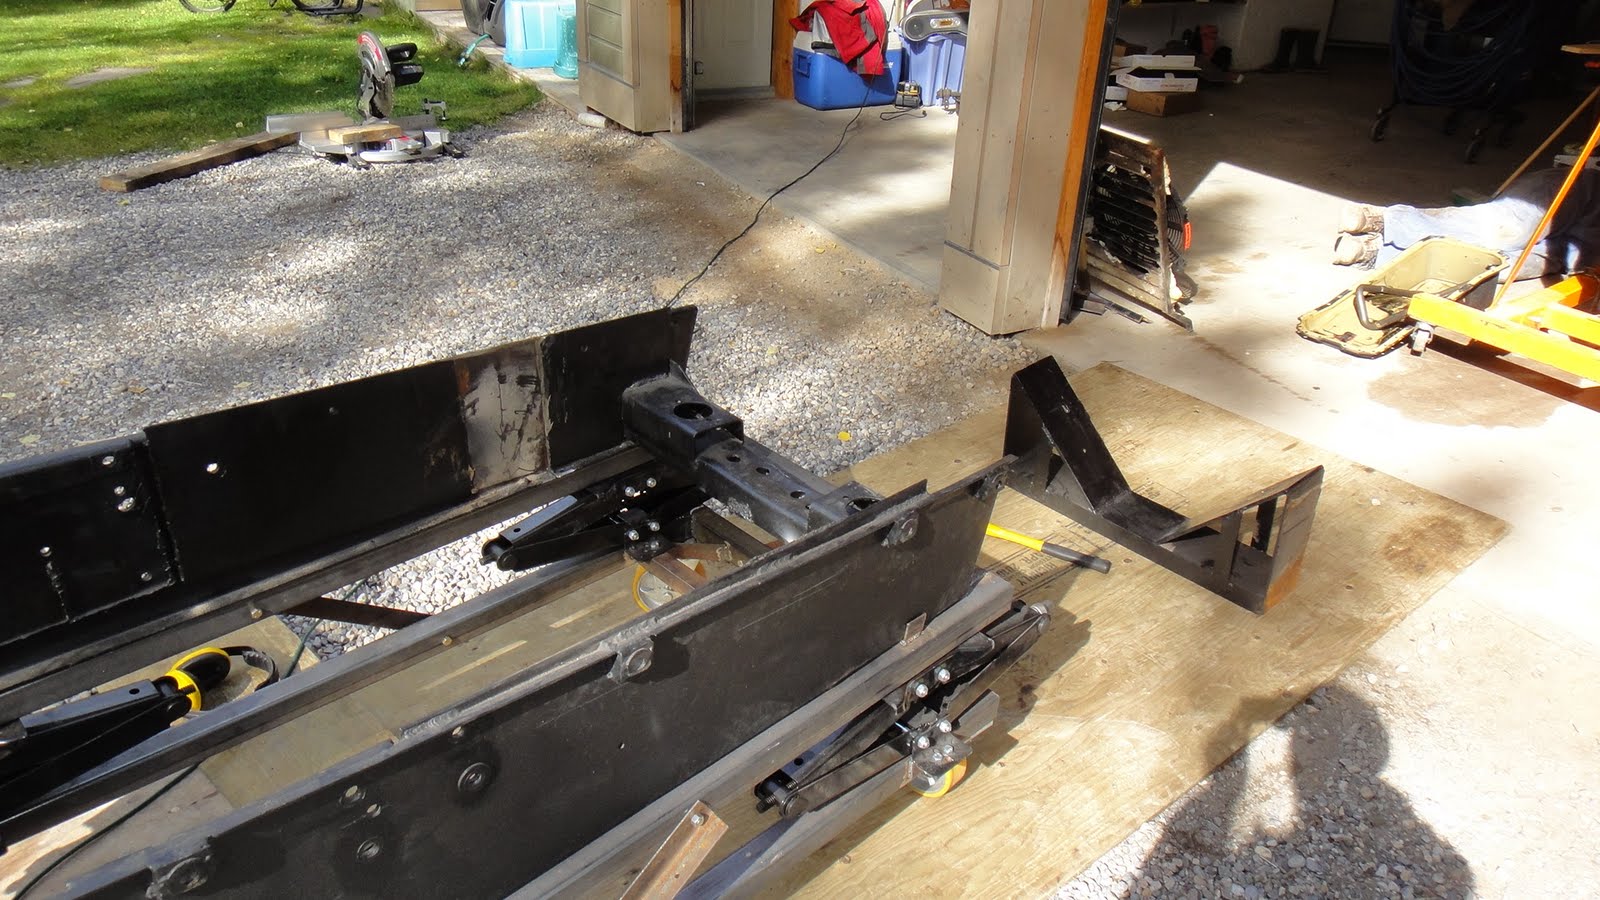
As you can tell, the last bit of work was Thursday night when Randy and I took the rear axle out. Friday morning (during a snowstorm) I trailered the 5.9L engine back to the parts dealer in Calgary. He's going to sell the engine tranny for me and get me the C8.3 from the '92 Monaco.
Posts will be few and far between from now until the middle of November. This coming Friday I am off to Guatemala to do some volunteer dentistry for 10 days. Upon my return I have a concert the following weekend and then a fundraiser for the Charitable organization Dentistry For All on the 13th of November. So forgive the lack of posts, but I will return!!

Thursday, October 14, 2010

It seems so simple....

So many times I have found on this project that I simply need to walk away and let things simmer. I talked last time about how I was unable to get the inner lug nuts off and I was at my wits end trying to figure out what my options were. I considered cutting the end off the lug wrench and grinding the shaft into a 3/4" octagon to fit into a socket on the impact wrench. Hell I even went as far as to go shopping for a specialty socket. Then the other night as I was typing a blog post it came to me. As simple as it could be. Embarrassing really that the solution could likely have been thought of by a 5 year old. Come to think of it next time I might just call on my kids to come brainstorm with me. KISS. Keep It Simple Stupid.


 I already had everything I needed right under my nose.... a pipe wrench and scrap lumber.......uuhhhhgh!
 Once the tire was finally off, we could proceed with removal of the axle, undo the shackles, undo the leaf springs...
 Viola! Of course these things do take time and the days are getting shorter. Perhaps I can get a better pic in the daylight

in the end we kwazi rolled the axle out, kwazi because we had to use the come-along as well. Unfortunately we didn't have much to hook the come-along to...being manly men...comfortable with out inner manliness...I drive a Jetta and Randy was driving his Miata tonight....needless to say Michelle had a good chuckle at our expense when she came home to find my jetta just about being puled back towards the bus with every pull of the come-along. But it DID work!

While Randy and I were playing in the driveway...others were playing in the garage....I promised Randy I wouldn't post the pic of him on the pogo stick. I'll save that for later!

Monday, October 11, 2010

Treading Lightly

 I thought I would use the same header that I used when I went online to the Flx community looking for advise. I am removing the rear tires so that I can eventually remove the rear axle. Seems simple right?
Come on....you know better than that!

 On the passenger side I managed to get all the lug nuts off and then I stalled... the inner rim seemed to be frozen (rusted) to the hub. I tried my usual methods of pry bar, swearing, sledge hammer, swearing, all my superhuman strength, swearing.....I think you get the picture. Anyway the post online resulted in a few suggestions, and the simplest one worked! Seems perfectly logical now but at the time I was plum out of ideas....except for the swearing...still had lots of that.
A small bottle jack wedged between the frame and the rim edge...POP!...off she came. The drivers side(above) has presented it's own challenges. You may remember some controversy with the drivers side wheels from a year ago....http://49clipper.blogspot.com/2009/12/rookie-mistake.html
A learning experience but this is not the same mistake. This issue was one of strength. On the rear wheels the inner rim is held onto the hub with special lug nuts that are threaded on the outside. This allows the outer rim to be secured onto the hub with it's own lug nut.Capishe?
Problem is you can't use an impact wrench with a regular socket....the inner lug nut has a square head. So the only lug wrench I have is an original from 1949(ish) .


Bendy bar

Seems simple enough, except the bar with the lug wrench just doesn't cut the mustard. It held in there to remove the passenger side inner rim, and 4 of 10 inner lugs on the drivers side. Now it has deformed enough that it won't hold...she just bends right away.


Sometimes you just let a problem sit and percolate. Like my Amma's coffee the longer you let it sit the more concentrated the problem becomes until the solution just pops out at you. Except her coffee got so strong it would just pop you...yet I digress...
So I let the rim sit and I moved on...or under.. and started to remove the linkages holding the axle to the springs.

I started this post on Sunday (Jeff's birthday 10-10-10) but I am finishing the publishing of it Monday morning and I think I may have a solution to my lug nuts! I'll keep you posted....(sorry, couldn't help myself)

Saturday, October 9, 2010

Another day.

Well there she is, took me a good part of the afternoon yesterday to pull the 5.9 out of the cradle, block it on the palette and then put it all back together. Tranny lines, turbo unit, rad lines etc etc. Strap it down and get it ready for transfer to the auto parts place.
 
On another topic, I of course need mud flaps...but in my search I was never really happy with what I found, UNTIL I found a local Calgary company that laser cuts out designs and can bolt them onto whatever size of mud flap tickles your fancy! I sent them a picture of the emblem, they digitized it and then viola....pretty snazzy mudflaps!!

Friday, October 8, 2010

Ohhh boy here we go.....again.

 Sometimes in life you make a decision in blind trust because you know in your gut it is right. Like marrying Michelle when we were just the tender age of 21. Looking back we think "wow we were young!!"...but it was just 'right' and 20 years later it still is. Other times in life you make a decision based on blind trust that the research that you have done is encompassing enough to help guide you too the right choice....."I think it's right!"
Often still a good and arguable choice....but maybe not "right"
 Take the Cummins B5.9L. A great engine, a workhorse, very reliable, and has enough oompfh to power the bus. But....from all the reports and discussions with Flxy owners, particularly ones who do this alot!, not enough oompfh to get up over the mountains and maintain speed in a good headwind.....hmmmm mountains and chinooks.......hmmmm.
Yes just like in hockey, the trick is to know when to pull the first line and send in the third. The 5.9 will do the job....but we(I) would always be frustrated. Can you see where I'm going with this?
 Let me introduce you to the Cummins C series engine the C8.3. Still a mechanical engine but lots more oompfh. This is the engine that is used in plenty of motorhomes, dump trucks, firetrucks etc.
Just so happens that a gent (friend of my business partner Rob) who helped source out some parts for me before, has access to a C8.3 with a paired Allison MT643 from a low milage 1992 Monaco diesel pusher motor home...and he's willing to help sell the 5.9/A518.
It's what he does...Western Auto&Truck Parts in Calgary
2602 52 Street Se
Calgary, AB T2B 1N2
(403) 272-8891
(Shameless plug)
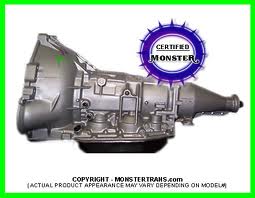
Another bennifit is the A518 transmission (above left)which is on the 5.9 is 8" longer than the Allison MT643.(on the right)
You can see the difference!
Which is also good because the C8.3 is 4" longer than the B5.9. Soooooo in the end it would be a next gain of the coveted 'ooompfh' and a net loss of length....thus allowing a slightly longer drive shaft!
And finally..... the Monaco also would have a rear axle that is geared for the engine/tranny combo!
How can I not?
How do I break the news to the Mrs.........

Sunday, October 3, 2010

A lovely Day...a lovely lazy day...

I have no idea why that last section is underlined when you drag the cursor over it....they have upgraded to a new format...and I haven't mastered it yet. Anyway I have been trying to get ready for the snow. I want to have doors on the front. I am still unsure if I am going to have door frames (perhaps of aluminum pipe) or if these are just going to drape across the front. But this was my communication with my "tarp guy". I eagerly await his response!
So a good part of today was spent trying to create a template for the interior wall shape/roof line. Any overhead storage, separation wall between engine room and living area will follow the same template. Being a pack rat has some advantages, after the kids were done playing in the cardboard boxes the RV furniture came in, I could use it for this job!
Fancy?...no. Sexy?...no. But to me it was nothing but good times.
After I had cleaned out some of the engine bay quilt work( as previously mentioned) it looks like Al Capone made Swiss cheese out of it...look how riddled it is with holes!

Saturday, October 2, 2010

The Majesty of October

I love winter, I feel that deep down I am a winter kinda guy, it does (and will again) throw a wrench into my progress, but like death and taxes, you can't get away from the inevitable. I know a lot of people love spring time it stands for the awakening, the rebirth, suntans and sunburns! But let's face it....it's a crappy shoulder season. Too warm for skiing , too mucky to mountain bike, you just have to sit ans wait and enjoy the sunshine. BUT there is nothing more beautiful than a fall day, cool crisp mornings, warming all day to a t shirt temp. Blue skies....come on are ya with me??

Well OK after the morning was spent doing the usual Saturday morning chores feed the crew, recyclables, dump etc. I managed to stop by a garage sale on my way home. Found myself a chop saw designed to cut through metal...better than using my carpentry saw with a disc on it, that's murder on the insert.

By the time I actually got around to doing some work on the bus, it was 2:30ish. So I did a variety of Hodge podge jobs. Sorry guys nothing too exciting today!

I pulled the second fuel tank out of the bus, I hadn't used it....and based on the smell coming from inside....I don't think there has been any fresh fuel in there since maybe 1955!
I have smelt "stale gas" but holey c#@p, I'm still not sure this wasn't old rancid diesel. Anyway...as I was trying to get the last of it out of the tank, some dumped on my boots. If I was wearing my work boots then no love lost. But....you guessed it.. I wasn't. So my lovely hiking boots now smell worse than my brother after a night of big BBQ and too many beers

I also spent some time cleaning out the engine bay area. I decided to remove the quilt work of tin, aluminum, silicone, expanded foam, Styrofoam. Once I get the engine in and everything settled I will recover everything. Looking at the passenger side of the engine bay....there is more gone than is left!

And finally, knowing that I am leaving for Guatemala in 3 weeks, AND the snow historically flies somewhere between now and then....I finished putting the sides up on the shelter.

Wednesday, September 29, 2010

Must remain Flexible with a Flxible

One of my favorite things with this project is the little gems along the way. Sometimes they show up as time spent with one of the kids, like when Jeff and Anna spend the day riveting the body panels on. Sometimes they come when Anna wrinkles her nose and says..."you stink like bus"
And sometimes it's in the bling. Here is an emblem that was custom made. Another Flxy enthusiast was wanting one for his rig, so he put the call out to other owners looking for a finishing touch. Yes, yes I know I am FAR from finishing.... but like a squirrel I will tuck this little nut away, waiting for spring time.....when I am ready.

So, in the last post I mentioned the need for addressing the rear end gear ratio. After chatting with a guy from the gear center here in Calgary, he told me what to look for to help identify the axle type. I also dug up photocopied Original Flxible maintenance manual that I had ordered last year around the same time I bought the bus. Turns out it is a Timkins!
In a previous post I mentioned the gear ratio as I had calculated it. My Flxy friend from the coast pointed out he figured I might have my gearing calculation wrong. Sure enough... I am man enough to admit when I am wrong....and I was wrong. I had jacked up the back end and had both wheels free.... that screwed my results... I figured my gear ratio was 2.8. What the...???
In actual fact the gear ratio for the standard Timkins axle that was used in the clipper was
6.2 :1

I got under there with the angle grinder and wire brush.....

Yup... the ol' H110 PX10.
The good news was we identified the axle and now could better look to see if we can find a gear set that we can use to change the gear ratio.
The bad news is it's not looking promising....I may have to swap the rear axle.......UUUUUUUGH!

Sunday, September 26, 2010

one step forward...TWO steps back

There are good days and there are bad. Sometimes though a bad day at your passion is better than a god day at 'work'
This weekend was a whirlwind. A quick trip to Manitoba for an alumni meeting and class reunion....man it's good to reconnect with old friends.
Anyway I grabbed an early morning flight home(that hurt) and my loving family was extremely understanding to let me have a work day with the Mechanic.

As planned, I wanted John to get a chance to see the engine in dry fit stage. The good news is everything fits and with some minor modifications we can make things work.

As planned, we replaced the damaged oil pan. Which meant we pulled the engine from the bus, then hoisted it out of the cradle.

This is the bad news, or the two steps back. If we had the engine out anyway, and it was hoisted out of the cradle....now was the time to make things as good as possible. Ideally to keep the engine angle to a minimum we would like to drop the engine within the cradle by 4-5". Soooooo, while John replaced the 'sump' I cut through the welds holding the engine mounts to the cradle. Now we can idealize the engine position prior to final placement.
We'll put the engine in it's mount, the mount within the cradle, the cradle within the bus....idealize the position....tack weld and bolt.
BUT!!....I know the gearing in the rear diff is wrong....so that needs to be changed prior to the drive shaft fabrication.AND... with the engine out it is way easier to mount the rad...

So....we wait...again....still.

Monday, September 20, 2010

Dry fit.

OK dri fit usually refers to athletic clothing....you know the stuff that you love to see supermodels in but the rest of us are delusional in thinking that we actually have a good enough body to wear, but scoff when we see like bodied individuals daring to venture out in public in ?
This has nothing to do with that.......
Last Saturday when the Mechanic left me on my own I worked away at a number of little jobs, but after the lunch hour I decided I could wait no more.It was time for a "Dry Fit"....a practice run!

Two sheets of 3/4" plywood...one fancy engine lift(well OK not fancy but very utilitarian)

A few ounces of determination and patience...

And "whoop there it is" (sorry I just dated myself there)

It worked like a charm. I was able to very easily push the engine in place. The last 2" I had to use a come-a-long to wiggle it into the final position but not bad at all!
After the engine was in place I was able to get a better idea about the transmission position and how much room I have for a drive shaft. I think I will have the worlds shortest drive shaft...I figure 11" long. This includes the u joints...on both ends...!!

Saturday, September 18, 2010

Left waiting at the alter...

So....a beautiful morning...cold...but sunny. My family's blessing to have a bus day....so what's missing from this scene??
The Mechanic's truck.

Yes, there must have been some communication breakdown. A few weeks ago I had to cancel on him. Then we couldn't make schedules work for 3 weeks. The big day came....and nothin'
Jilted.
Alone....sniff sniff. Feel sorry for me yet? Well don't I still did a whack of work and had a great time doing it!

Jeff was busy making a sign for the bus shelter......it is the buses name.
Yes at long last the bus has a name!
BUT I won't let that secret out quite yet. It's not a state secret but I kinda want to have a post all to itself for that.

I spent the morning FINALLY tearing out the drivers side flooring in the engine bay. Allowed me better access to the air tanks and to work in the rear.
In the afternoon I decided to take the plunge. I waited around hoping John was at home treating this like a golf course and waiting out the frost delay. But to no avail, John was not coming.
So I decided to do the dry fit by myself. First order of business....can one guy move a ton of engine and tranny??

Oh No! Not again!!

You may remember this time last year I found a  wee problem I had been checking things out and found a significant break in my flywheel hous...