We were sitting on the deck on a thursday exclaiming how wonderful of a fall it had been. The leaves had a chance to turn and hang on for weeks. The vistas were beautiful. The next day by 2pm it was full on blizzard.....and just like that....its winter.
But what can you do but embrace mother nature. I'm a winter guy(although I would love more daylight for it) so we bundled up and listened to the squeek of the snow beneath our boots.
After last spring, when we had record amount of snow, I decided that I needed to up grade some of our snowshoes, courtesy of my in-laws. Now I could scrap these old fellers like our throw away society seems to promote, but instead I decided to create oldschool snowshoes 2.0
I found a company out of Quebec that manufactures modern snowshoe bindings for old school snowshoes. They seem to work like a dam.....I'll see what the field test shows when we get enough snow on the ground.
Meanwhile, as I wait for a new Voltage regulator I decided to heat up the inside of the bus and work on some kitchen trim. I still have aluminum stock that I purchased
The hardest part of this whole process is the little curve at the end. It took some playing but eventually I got what I liked
Test fit proved positive.
Now to build a storage shelf/container thingy that matches the drives side

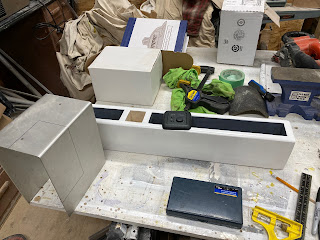
Starting with the paining process, sanding and primer layer are done, now a coat of three of the cabinet paint
While I await the paint to dry, I spent my time polishing the trim piece. This is an exercise in patience. The process is multi step and slow, you really cant rush this....if you do it usually comes back to bite you in the back side.
After I spent a good half hour going through the different grades of buffing compound, my end result was pretty slick....the guy in the reflection not so much, but the mirror polish ...pretty slick!

I was so proud of myself, I decide to reward myself with a special treat!


