Friday, June 26, 2020

Toys for Boys

Perhaps a little back ground for what you about to see. This is the cabinet which sits on the isle side of the forward facing chair in the cribbage area which also acts as a foot rest to the rear facing chair.
All the paraphernalia set about the cabinet is the hardware required to create a scissor lift that will be the outside support for a bed platform over the cribbage nook.
12V DC motor, a couple limit switches and a DPDT switch.....
A little YouTube research about wiring options....
A pulled battery from the quad as a temporary 12V power source...


A little carpentry and ingenuity.....and we have ourselves a scissor lift platform that hides in a cabinet and will support a bed!

My only regret is the speed......

Tuesday, June 23, 2020

Clear Sailing?


A few posts ago, we finished the metal inlay portion of the crib table. Now after much anticipation I want/need to cover the inlay with a clear acrylic.
Super exciting, and nerve wracking all at the same time. If something goes south, there is no recourse and all the hard work could be lost.
A slow bleed. Although I made a kick ass frame with enough silicone to float a boat. I still managed a small leak. This could mean as little as just a loss of some depth of the acrylic pour, to the ruining of the underside cribbage board.


There is not much I can do now, I SHOULD just sit tight and let it run it's course.
In the mean time I will distract myself with some new toys that came.I love the internet!

Friday, June 19, 2020

Teak work

There are times as a father that your kid says or does something, and you say to yourself. I will just let that die a quiet death....no one needs to know he did that, and he doesn't need to relive it.
And then there's times you don't.....
This was in the height of the covid isolation phase. Which had the added benefit of the kids spending time in the shop with me. There were times of quiet, reflective moments....and then there were times of, well I really don't know what.
I feel bad, the cribbage nook cabinet tops got very little official attention. The de-clamping, the design-outline-cutting phase, routing and the hours of sanding. They all happened but they were all missed. But now we pick up at the 3/4 along the way mark. I am installing the quintessential cup holders and a fancy pop up 110V/USB plug in the cabinet top near the drivers seat.
As wonderful as it is, they allow you to put a custom top on the unit. 
Which is good 'cause the supplied tops are UUUUUUUUGLY!
So, I used some off cuts from the original  top shape. I ripped a 1/8" piece on the band saw


Then used some double sided tape to hold it to a flat block and put it through the thickness planner until it reached the desired thickness 3/32". Some gentle sanding and 'pop' there it is!

Once in place it really works. Of course now I have to run the electrical....
Because I am impatient, I need to see what it looks like. there is still more to do, but if something doesn't look or feel right it's easier to find out now rather than later.
But I am feeling quite good about this. It creates a small space within a small space. It makes it feel important, and cozy at the same time.
I like it all....well not quite all....there is one thing that drives me nuts. Always has, and my plan from the day I bought them was to remedy it when the time was right.
And the time is right.

Thursday, June 11, 2020

The cribbage nook

If you remember, back in March, my brother came out for a visit at  
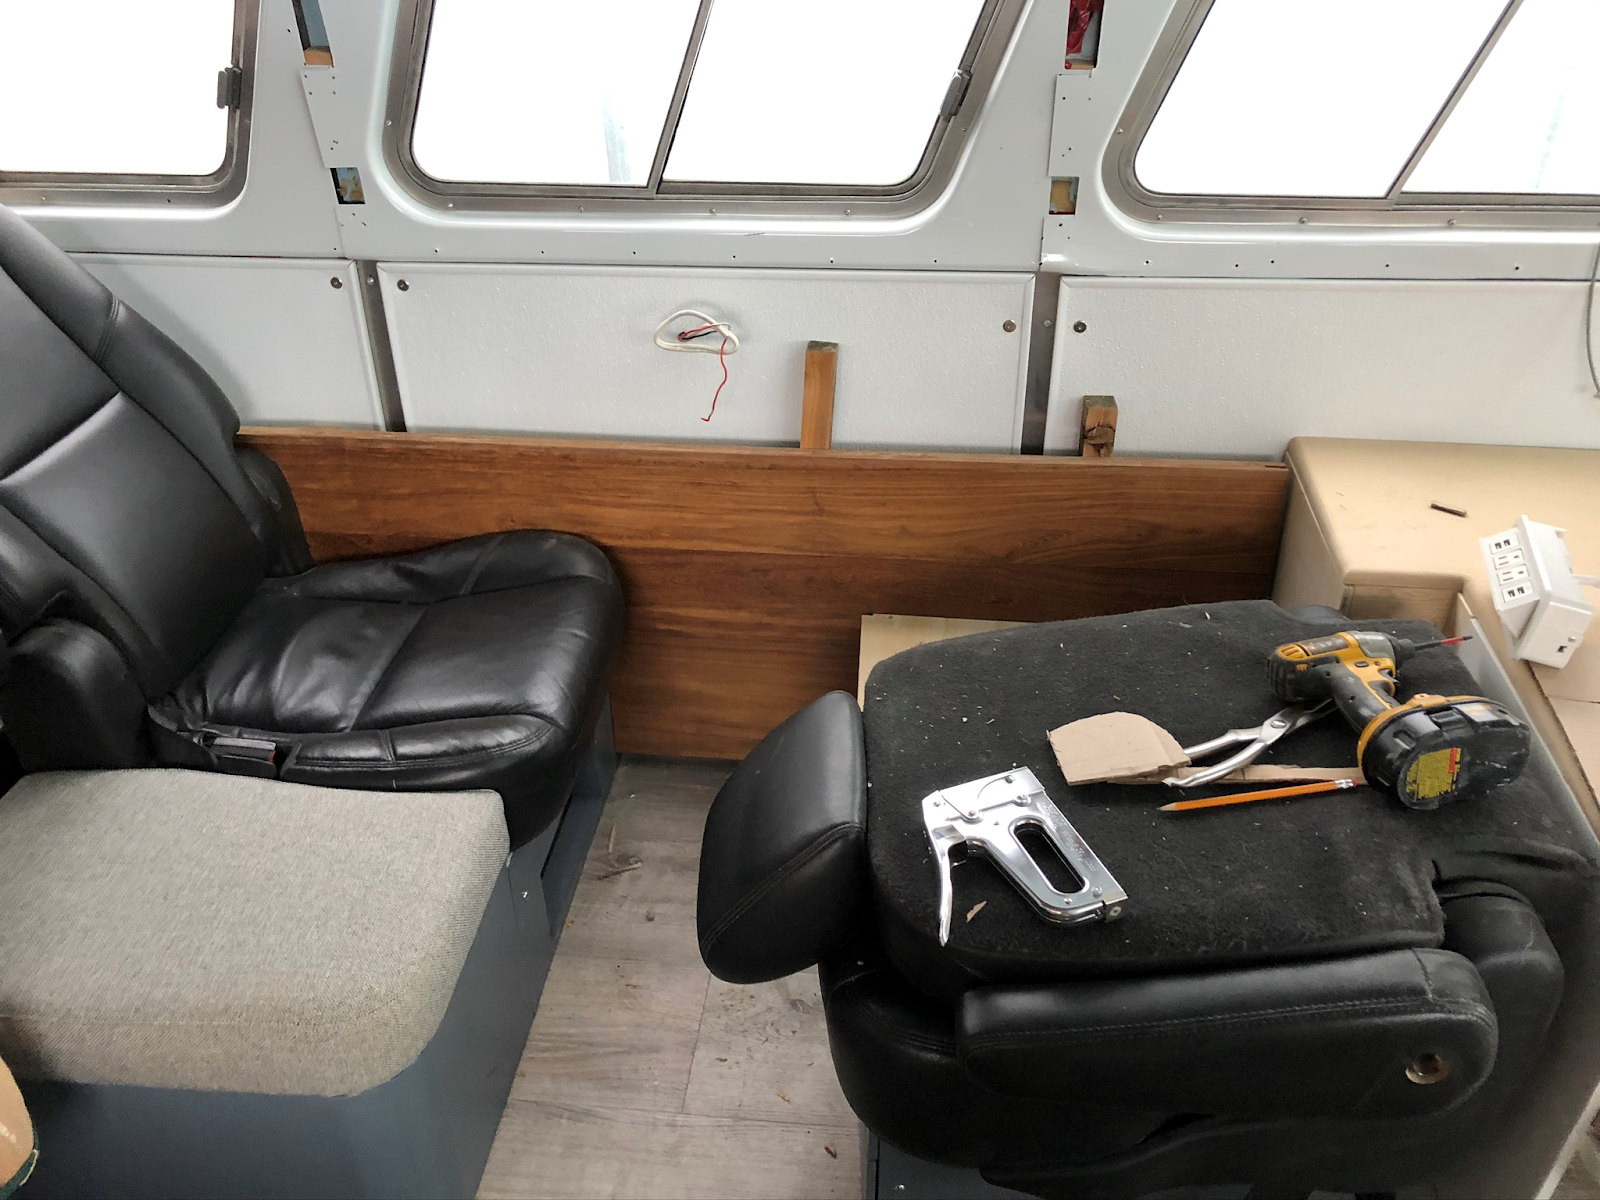
the start of the shut down. Being that our plans for attending the jets/flames game was cancelled we got creative in the workshop. Shawn digitally designed the cribbage nook on the drivers side behind the captains chair. Traditionally a spot for the typical dinette.
Although I have been working on the cabinetry it is now time to make those plans a reality.
As my usual, I cannot assume anything is square, so cardboard templates are the order of the day.
For this step I took it one step further and made a plywood template that I then refined , yet again, with cardboard edges.
Once I was happy with the design, it was time to choose a wood, and I had just the thing that has been in waiting. I have had this in my grubby little hands for a year or two at least. But this fine piece of wood has been in Canada since the late 60's early 70's. It is a headboard made of Muninga wood from south-central Africa. Michelle's parents were there in the mid 60's and they brought this back as one of many pieces from their time living in Kenya. Some time ago, Verna asked me if I could use the headboard, either in a bedroom or for something else. Well......something else has come up!

As careful as I could be I removed all the trim and metal bars.....yes metal bars were inset on the ends to keep the wood from delaminating in the high African humidity.
Once I transferred the outline of the faux wall from the plywood/cardboard template. My shop helper was in charge of cutting the 60 year old wood!
And what a job she did. Fits like a glove!
Now part of my job was to spend time removing all the old finish so that we can better match to the cabinet tops on either end of the crib area.
Its an odd looking piece, but when in place it fits right in.
Now I went on the hunt for wood for the cabinet tops, after looking at a lot of other African woods, I settled on Teak from south east Asia. The muniga is on the left (above) and the teak on the right.
Some planning and joining, lots of glue and some clamps....lets see how this works out!

Thursday, June 4, 2020

Things are solidifying

Ordered chaos is what I call it. Many times I have gone out to my shop and been frustrated to no end by the lack of order in my shop. I have even said..."OK today I clean, tidy and organize this space!" But somehow I get sidetracked by something in the shop that derails my initial intention. So I will keep the ember of change burning but until then I will take solace in calling my shop ordered chaos.
As seemingly dysfunctional as it is, I still seem to get things done.


Final coats have been sprayed on the cabinet components and preassembled.


I then did a test fit back in the bus, and things seem to be working well, but before I permanently install....I have another modification that I want to do.

So while that bubbles away, its time to work on the dual top table. The eating surface is going to be worked on. The concept is to do a solder inlay in the 'Flxible' symbol

I was fortunate that the local guy that did my CNC work was able to make me tow additional working pieces from birch plywood. This gives me the ability top wrok in the routered surface and not mar the final table surface made by Anna from maple and black walnut 
I spent many hours figuring out the best way to lay solder. Jeff and I tried the crucible with a pool of molten solder, but I found it to unpredictable and a lot of sanding and grinding for finishing work. I then found a kick ass soldering iron that is more designed for industrial roofing, and it changed my soldering world...
Don't get me wrong, there is still plenty.....I mean PLENTY of finsishing that needs to get done after the initial solder melt.


But after some number of hours under the bench top magnifying lamp the result is promising


Flipping from work surface one to work surface two, allows me a fresh working surface to polish on
There is still one more significant step ahead, but things are looking great so far!

Oh No! Not again!!

You may remember this time last year I found a  wee problem I had been checking things out and found a significant break in my flywheel hous...