Tuesday, December 17, 2019

drawer design

A few more sessions spent in the shop finds the special cabinet with more walls on in, a coat of primer and a coat or two of paint. I am waiting for a few other pieces to be ready so I can spary the lot of them


The cabinet will have rounded edges, which means to maximize storage space we will need to round the drawer edges too

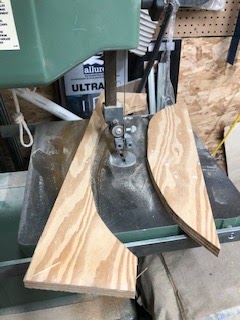
In the same fashion as the custom wall of the cabinet, I employed the same technique to give me a custom shape drawer. But as indicated, the fabrication left me with  90 degree/square corners. And that will just not do. So I rough cut the edge off, then use a rough carving blade on my angle grinder, then sand like I've got nothing better to do!
In the end, I get a cabinet drawer that has the shape I need to accept the drawer front with the 3"radius 90 degree rounded face.

Wednesday, November 13, 2019

Hey Trump! I built my wall...and I paid for it myself


I'm currently reading a book, about a guy who lives a very simple life....his occupation is a little dark- a highly trained and troubled assassin who only eliminate the ones who he individually determines are  the "bad guys". The point is not that, the point is, in the novel his home base...his 'lair is super clean, super organized, super minimalist.....
 Some days I yearn for that when I walk into my workshop...
But it would take so much of my time to pair down, clean, organize and categorize things....that I get used to the kaos.
Now that I have finished my Styrofoam prototype, it's time for me to translate the concept into the reality of permanent building materials.

After the lower portion of the dinette cabinet is done, it's time to create the curved wall
First order of business is a template to act as a mountable support wall and a press to laminate some 'wiggle wood' into a 3/8" curved plywood wall. I traced and cut the path of the chair to give me what I call big spoon/little spoon
 I then cut a 1 1/4" strip off the big spoon and rebated some 'ribs'


 the end result was a fancy press for the wiggle wood, with the big spoon acting as a support wall for the cabinet as well.


 Lots of glue, and lots of clamps, and lots of time!

Initial placement looks promising,  


With the wall tacked into place the chair is free to swivel


Sunday, November 3, 2019

Arts and crafts part two

 So the cardboard cut out I learned a lot, mostly that cardboard is good fro tracing or making flat templates but lacks some of the required structural integrity for the prototype. So I started again using solid foam insulation that I have kicking around.

 Then after I had the framework set up I used cardboard to trace the path of the chair and then transferred that to a MDF table top.
 Next I started making the frame for the small cupboard. Being small, you would assume this would be an easy build....but its one of the more complicated ones. I have to build it in 2-3 pieces that then will be attached together!


The first step is the lower box. It is a small space but will have a pull out drawer with, like all the other cabinets. rounded corners

Life is good when your listening to good music, with good coffee and doing a fun project.

Wednesday, September 4, 2019

Arts and crafts time

I chuckle when I think "I'm using a glue gun to build cabinetry for the bus" But, I am....kind of.
I'm down to some of the non traditional...non square....non-easy cabinetry in spaces that are tight and non static. So rather than build something out of wood, I decided to use some left over cardboard moving boxes and my glue gun to make a prototype


It was long and arduous work, made marginally barrable by fresh hot coffee and CBC music playing.

The mock up was made, placed, removed, modified, replaced and repeat...numerous times. The end result was visually disappointing but allowed me to conceptualize what I need to do. I have more ideas percolating in my head.


Friday, August 30, 2019

Hydro Therapy


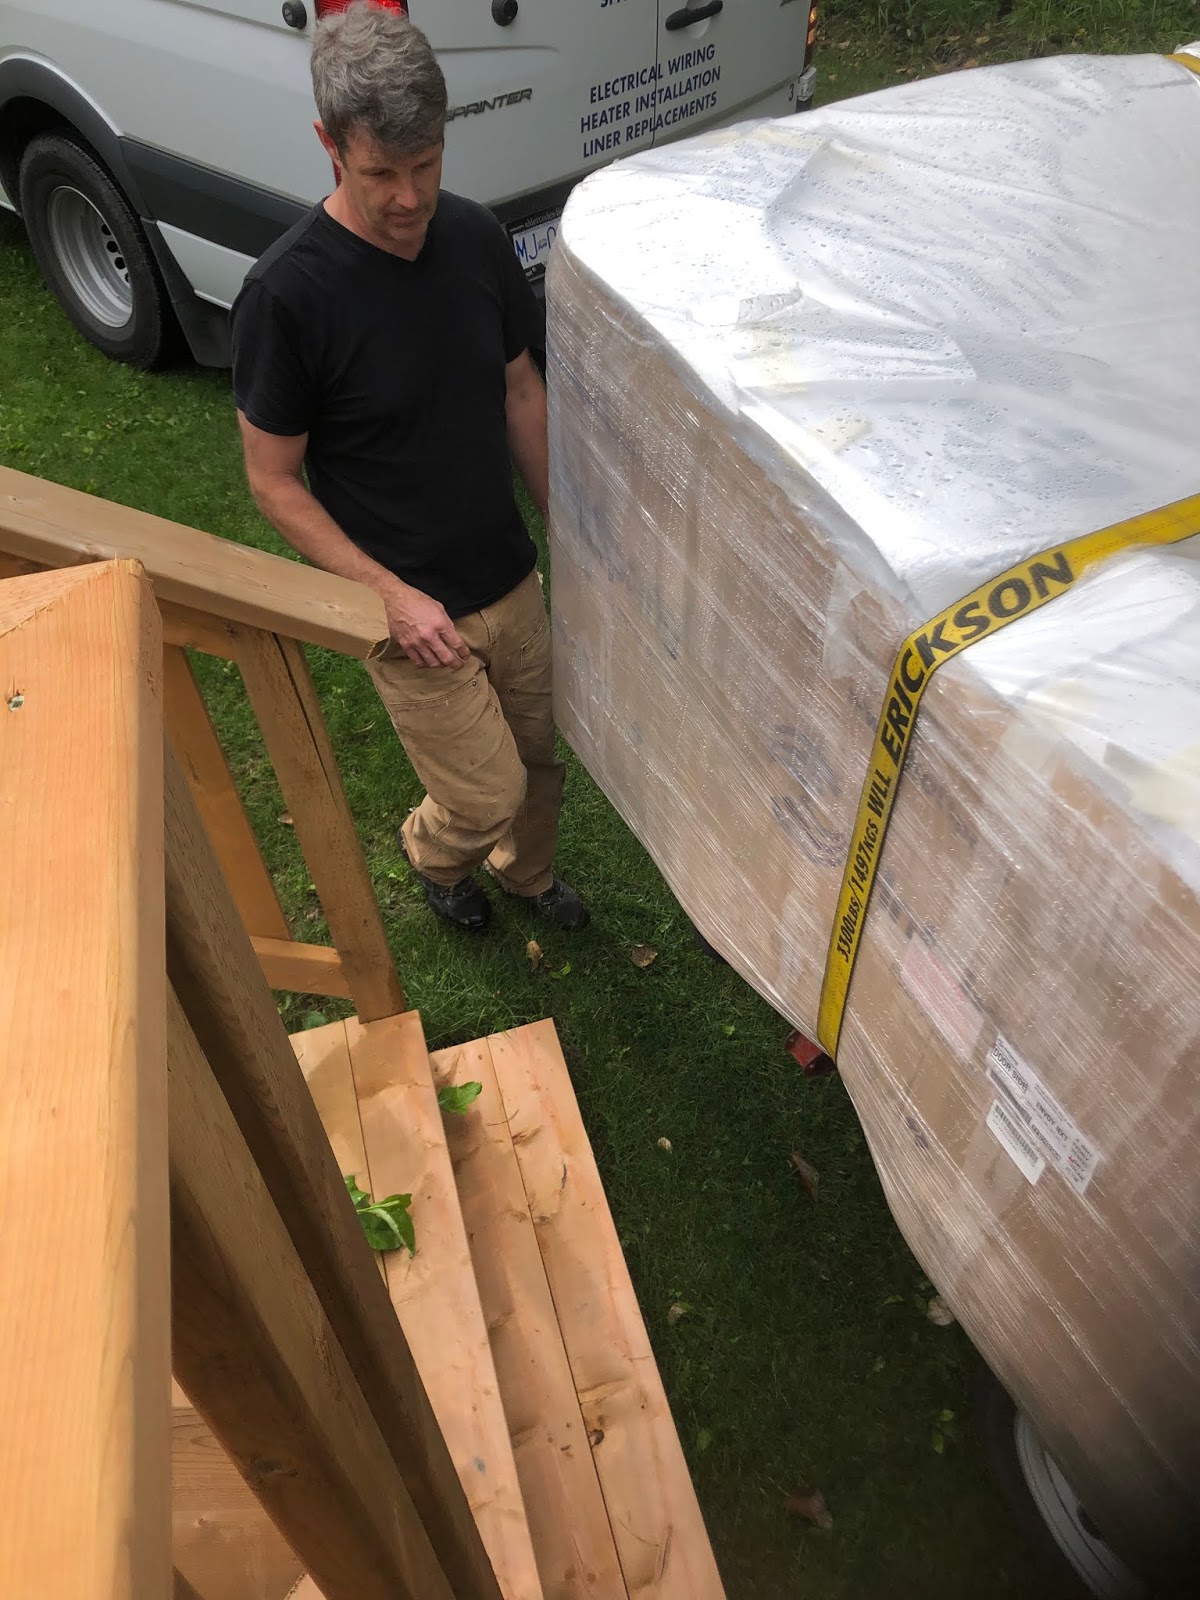
I know this doesn't seem like the delivery of a hot tub is bus related ....but it is bus supportive! After a day of crawling under the bus this is a fantastic way of rehabbing my ol' back! Of course Michelle says I can justify just about anything if I put my mind to it. None the less the commitment of Steve and his trusty hot tub installer assistant Lori to bring out the goods is more than bus blog worthy.

 Now getting the tub into position was a little tight in a few spots, but nothing for these trained professionals.


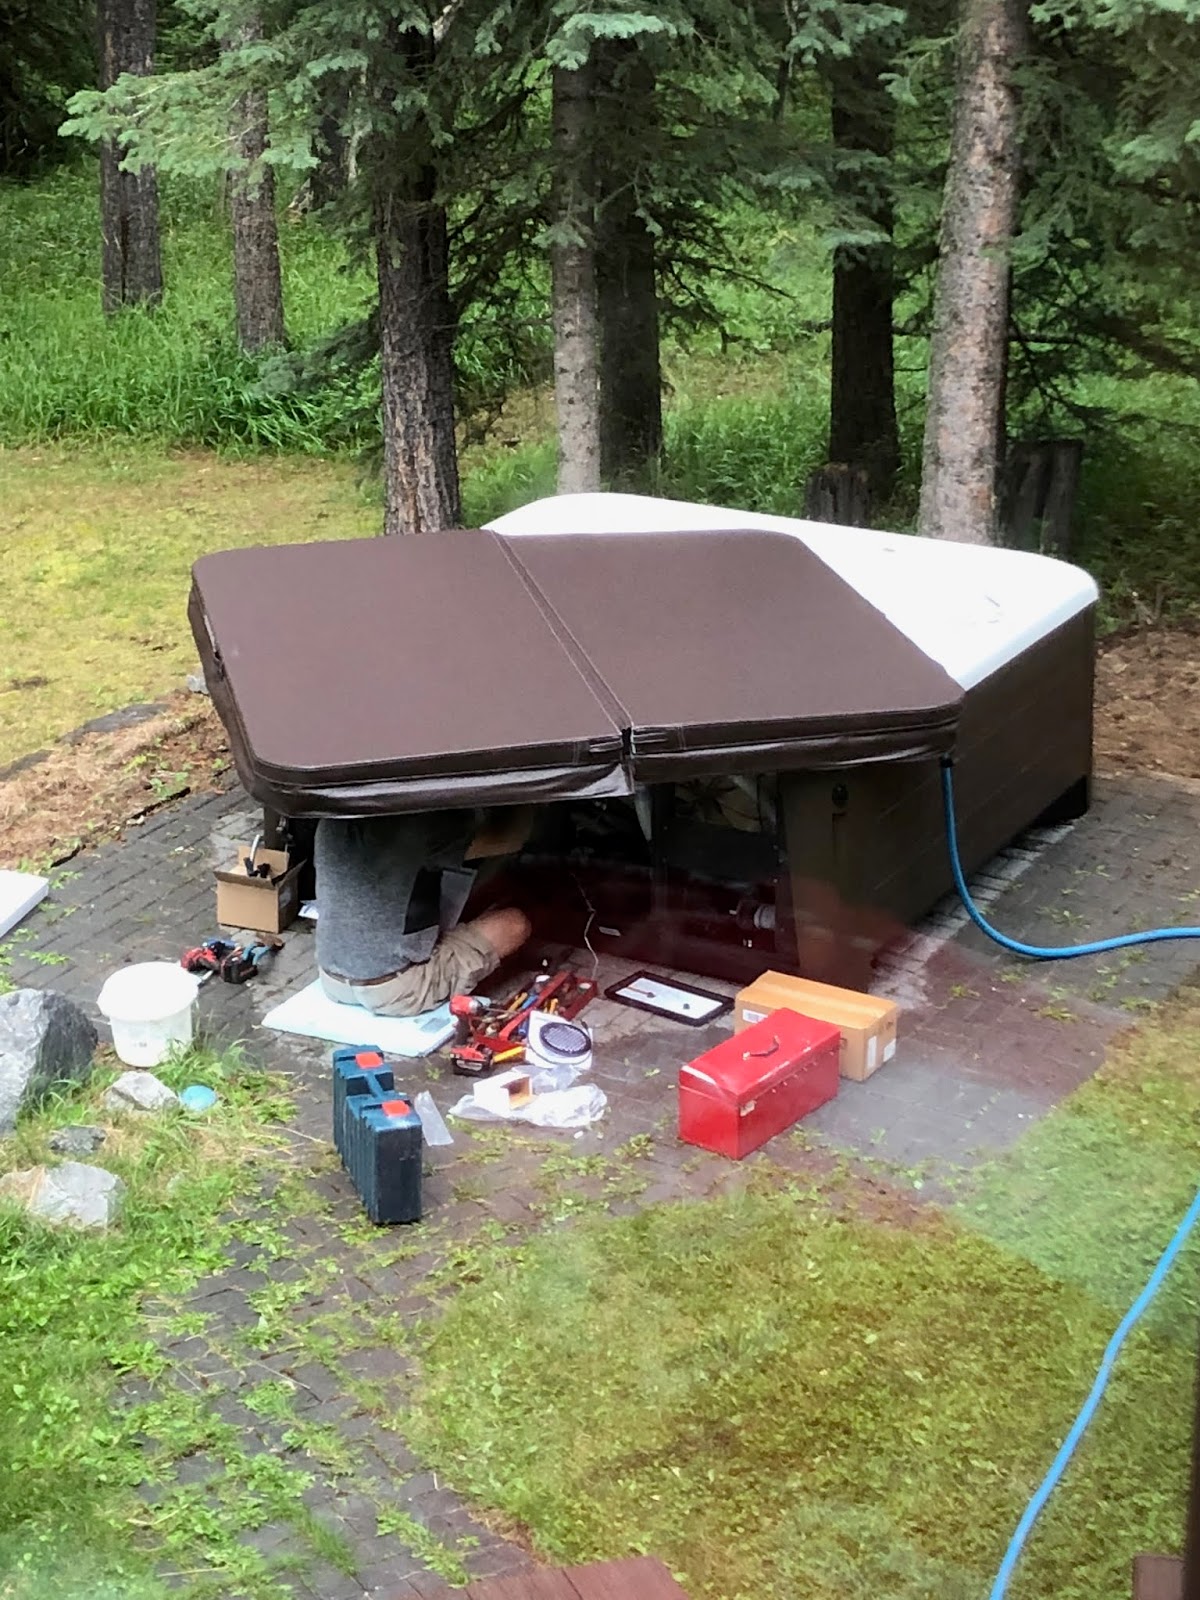
 I must say the ingenuity(and perseverance)  of Steve was amazing, while I hid inside....errrr brewed coffee...during the rain, he found a way to push through.

 And get the job done. My back thanks you now Steve-O
 But Fillmore jobs continue on, the horn rebuild continues. New attachment hardware, new gasket.
 New paint! At first I was thinking, just good ol' black. Its situated under the bus, and no one will see it, but... I already had matching paint...
 Re-assembly test fit was successful, now to bolt it into position so only the die hard blog readers will know to look under the front to see this colorful noise maker!
 All the while coats of paint go on the drawers under the couch. A slight painting technique find, props to Jeff and his artistic work experimenting with clear acrylic. After years of trying to get a decent finish with a roller only to abort  after multiple coats to spray a finish on cabinets. I employed Jeffs technique of lightly flaming the surface of the paint immediately after rolling it on to eliminate bubbles left behind. The finsish is not as glass smooth as a high end spray but pretty close! And when the cabinets are under your butt on a couch.....I might just go with it!
Although watching paint dry is a good time for contemplation/reflection of bus project progress....or to filter out the flowery wording...a good time for a dram of scotch...I decided that I will use the 'dry time' for building a cardboard mock up of another small cabinet....stay tuned...

Thursday, August 22, 2019

Making a statement

 My wife would argue this point, but I really feel like I try to fly under the radar. I'm not looking for attention. I just want to be surrounded by people I love. Michelle would say I love to be surrounded by people....tomato...tomatoe.
I suppose I shouldn't be surprised when I was met with a look of confusion when I proudly explained to Michelle how I had figured out where the issue for the horn was! NOT the loose 12V supply post on the horn, NOT a faulty relay, but rather a faulty connection at the wheel that I backed up and eliminated sources from the horn back(60 years of oxidation will do it to you). No, rather than a "Wow, good on ya!" I was met with the...."Don't you have an air horn?"

 And, yes, although(as usual) she is 100% correct in her 97.832% scientific approach to life, she missed the point. So I hesitated to even try to explain why i was wanting to strip/clean/sandblast the horn to repaint it even though it was mounted under the bus and no one would  ever see it.


 But, I did... and I was met with "that look". But that's OK, mars and venus baby......mars and venus.


As part of the clean up, I had to remove a very old paper gasket. Which of course tore apart when I did. I taped it and then traced it onto cork. Which I will use to rebuild!


 Now while I was mid deconstruction, I got a message from my good buddy Steve who was driving from Kamloops BC with my new HOT TUB BABY!!!
 So I said....."Hmmmmm, should I clean up from these guys?"

And I did....AAAAaaand I was glad, because he came bearing gifts from the interior of BC

Monday, August 19, 2019

Fall Fun

I didn't even grow up in an agricultural based town. There were no farms, frankly people thought it was weird that some people had horses! Yet when I see this scene it puts a calm serenity over me like a warm heavy blanket on a cool night. The scene is from the 5th Tee at the golf course in Deloraine, I was there for the infamous Big Rock Tournament in July. A long way to travel for a few rounds of golf but so worth the time with family.

Speaking of Family this past week we were blessed to have Michelle's Mom&Dad come for a visit. We had to share them again because her sister and family is back in town from their year in France, but we treasure whatever time they are willing share with us. Of course whenever Ron is in town he gives me motivation not only to get off my butt and work on Fillmore, but also it forces me to be accountable of the time spent on the job. It's one thing to sit out there with a cup of coffee and gaze and ponder my next step, but when you have a willing participant eagerly awaiting direction....it's time to get off the pot and get the show on the road.

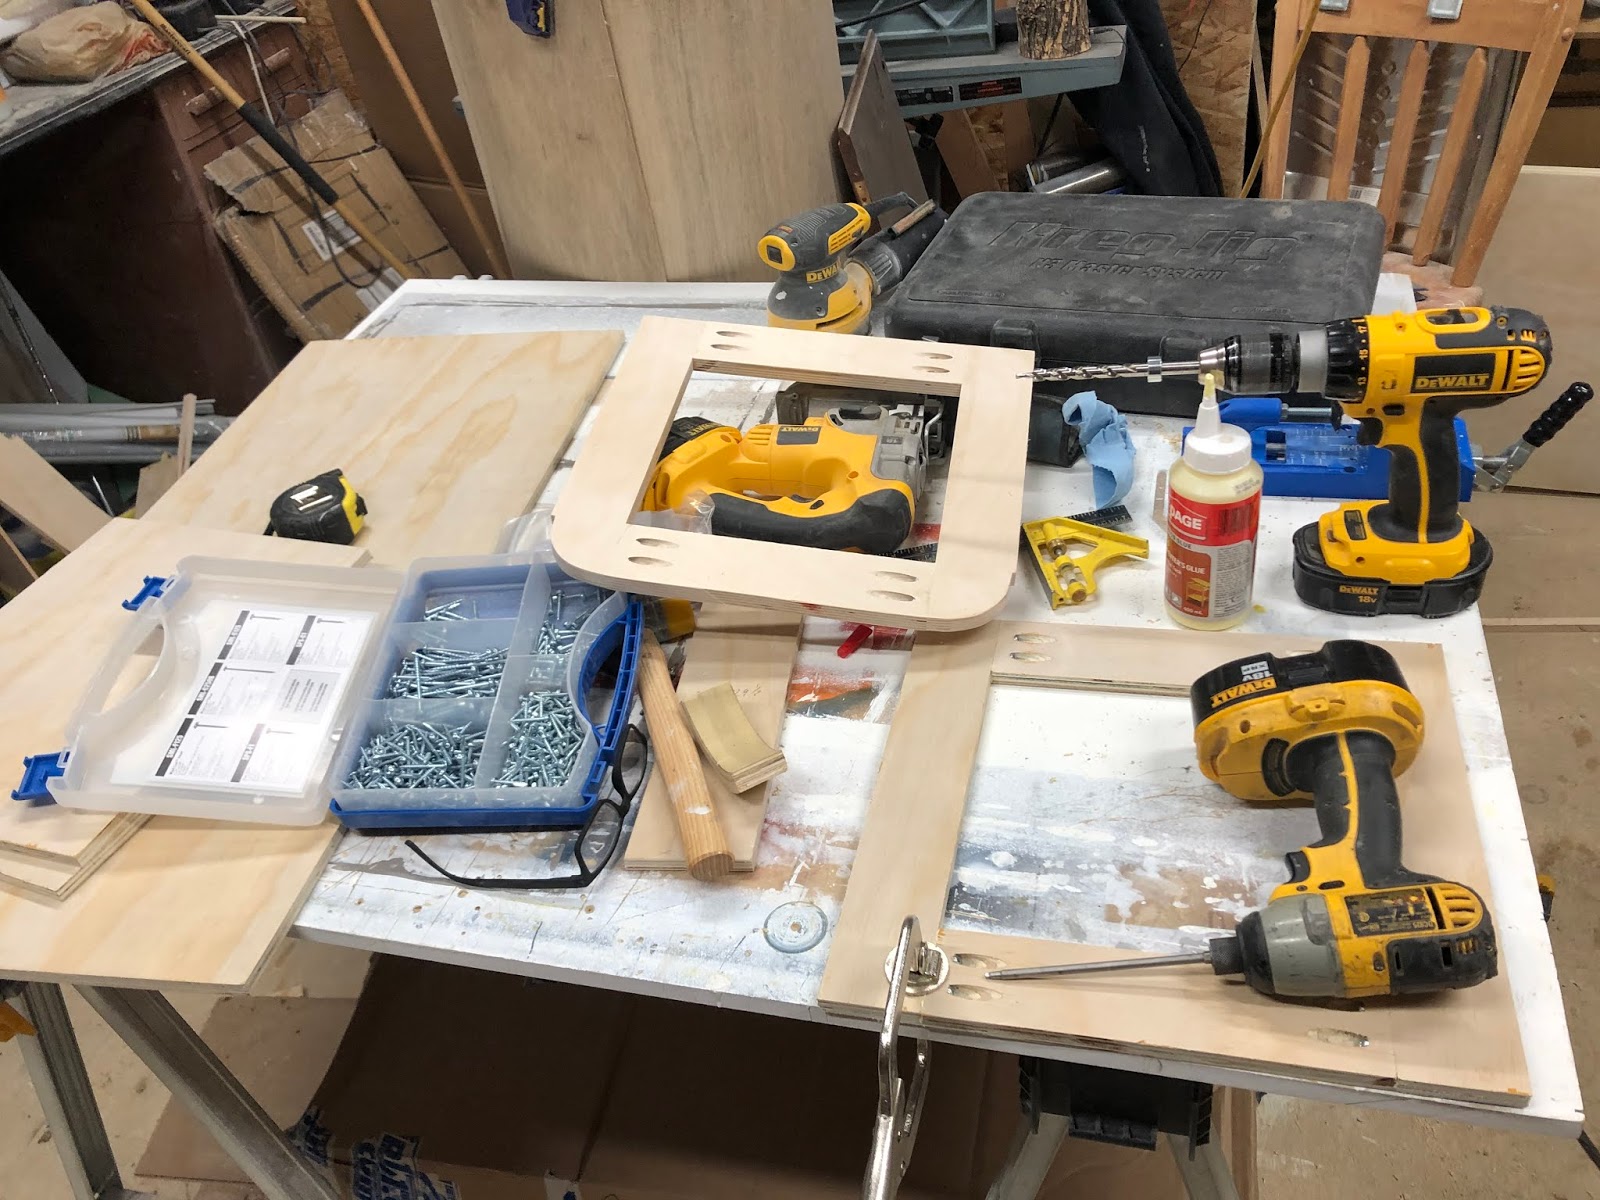
So we spent a day planning, assembling, disassembling, reassembling (repeat) a set of drawers for blankets situated under the couch.
The drawer fronts have been cut and mounted, but in this pic, they had already been removed for sanding and painting.


While the primer coat dries, I started on another simple but important project. My electric horn stopped working, and I cant figure out why. I know the supply post on the unit was loose, so I started by removing the horn to disassemble and clean. Once I had it on the bench in pieces, I found that although it was filled with 60 years of crap, it was working fine.


So the search went elsewhere. It was time to ensure all was well at the steering wheel !


A simple test showed that I have power and can generate signal to the electric horn with a simple wire. So that means the oxidation layer on the assembly of parts is my culprit!

A little elbow grease and sandpaper, I have fresh surfaces to work with...
Thankfully I have a reproduction of the original parts catalog so I can see the order of which all these tiny pieces go back into place......

Wednesday, July 10, 2019

A little chilly

 So last year in August as we were coming back from a camping trip in Jasper, and it started to snow. I cranked the heat, and although it was warm in the back, the air from the front of the bus was "tepid" at best. I had planned for the additional run of the coolant all the way to the front from the rear position engine by putting in a 'lift' pump or a coolant circulation pump....but something was amiss.
I made a mental note to look into it.
 So you shouldn't be surprised when I tell you it took me close to 10 months to remember the issue, specifically after a trip to Manitoba where we foolishly drove through the night and it was a little cool at times.
 The first order of business was to see if it was a simple electrical problem. Was it as easy as a connector popped off?...no such luck. Was it a fuse?....well I'll be damned the fuse had fried! So I replaced the fuse but still a no go when I flipped the switch to the pump. So I thought I would test the power to the pump. Positive was strong. Ground.....was giving me a positive power supply through the ground wire. Oh oh......
 Traced it back to the pump itself. Power going in on +ve AND coming out on -ve. It could only mean one thing.....
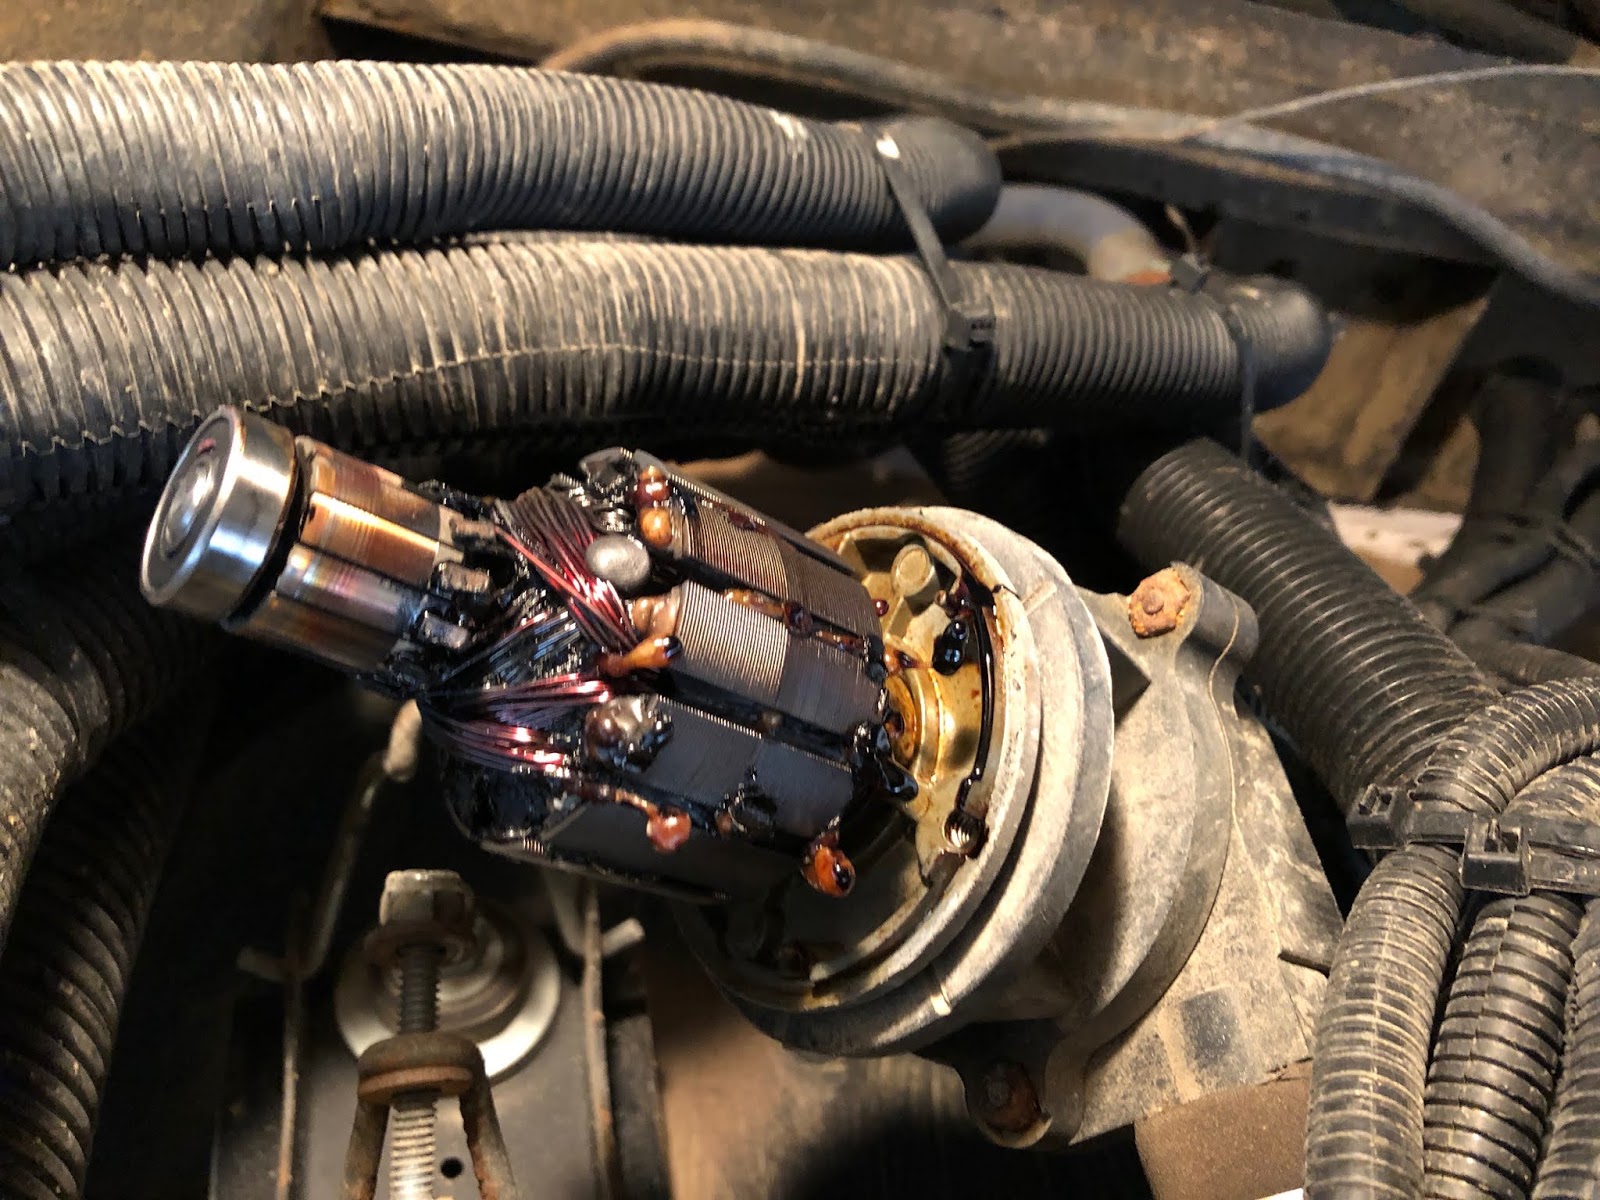
 I had a hunch which was all but confirmed as soon as I undid the mounting bolts for the motor casing. It was a terrible burnt smell
 And I was right....she was completely fried, melted, toast! Done like dinner!

 The internet being the wonderful thing that it is I found a school bus parts supplier on line that could ship me what I wanted for only slightly more than I would pay in Calgary, and they would deliver it right to my pretty little hands in two days. Faster than I could get there on my next day off!


Pulling the old pump out I could use the same mounting platform I had fabricated for the other pump, but I needed to drill new bolt holes and as such get new vibration dampening mounting feet...aka chunks of rubber
A quick flip of the pump head to the correct desired orientation and we are almost in business.....almost....

Oh No! Not again!!

You may remember this time last year I found a  wee problem I had been checking things out and found a significant break in my flywheel hous...